To create personalized resin keychains, gather your supplies like resin, molds, charms, and safety gear, then set up a clean, ventilated workspace. Choose design elements that reflect your style, prepare and position them carefully, and mix your resin with vibrant colors. Pour the resin into molds, embed your items, and let it cure fully. For tips on finishing and maintaining your keychains, keep exploring—you’ll find plenty of helpful details.
Key Takeaways
- Select personalized design elements like charms, photos, or engravings, and prepare them for embedding in resin.
- Mix and color resin carefully, then pour into molds, placing items strategically before curing.
- Ensure proper curing by maintaining optimal temperature and curing time for durable, clear results.
- Seal and protect finished keychains with topcoats or sealants to enhance longevity and vibrancy.
- Maintain and handle keychains gently, cleaning regularly and reapplying protective coatings as needed.

LET'S RESIN Keychain Resin Molds Silicone with Hole, 16 Cavities UV Resin Jewelry Pendant Mold for Beginner, Epoxy Resin Molds for Keychain Pendant Jewelry Making
【Resin Mold Kit for Beginners】: This resin mold feature 16 different shape with 10pcs keychain rings & 10pcs…
As an affiliate, we earn on qualifying purchases.
As an affiliate, we earn on qualifying purchases.
Gathering Your Supplies and Setting Up Your Workspace
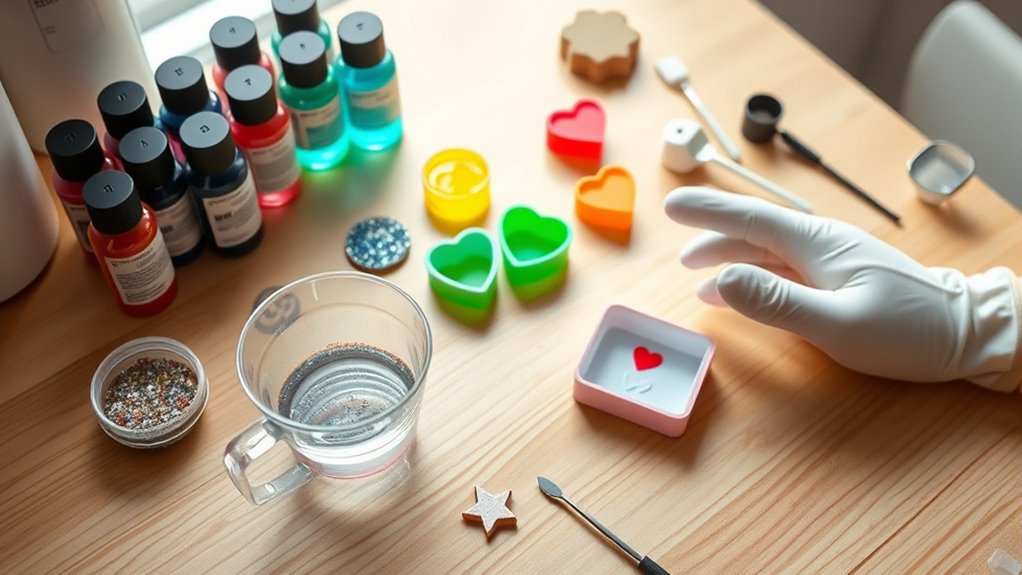
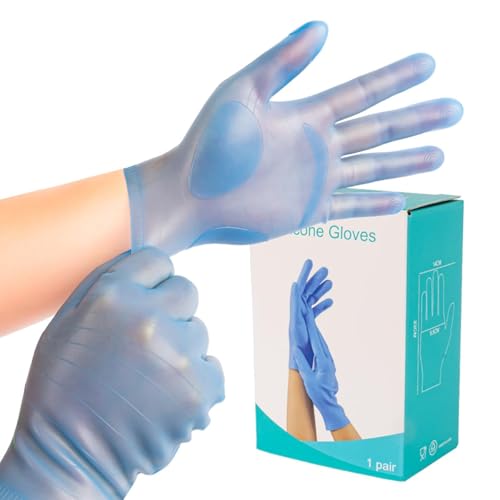
Before you start creating your personalized keychains, it’s important to gather all the supplies you’ll need and set up a clean, organized workspace. Proper workspace organization helps you work efficiently and minimizes mistakes. Keep your resin, molds, mixing tools, and decorative elements within easy reach. Confirm your area is well-ventilated to handle fumes safely. Remember safety precautions—wear gloves and a mask when working with resin to protect your skin and lungs. Cover surfaces with plastic or newspaper to catch drips and spills. Clear away unnecessary clutter to reduce accidents and keep your workspace tidy. A well-prepared environment not only promotes safety but also makes the crafting process more enjoyable and streamlined. Additionally, understanding essential oil properties can inspire creative ways to personalize your keychains with calming or invigorating scents if desired. Being aware of electric bike speeds can also motivate you to include speedy or high-performance elements in your design, making your keychain uniquely yours. Another useful consideration is water-resistant coatings, which can help protect your finished keychains from damage and ensure durability during everyday use. Taking these steps ensures you’re ready for a smooth, safe DIY experience.

Hangood 30pcs Resin Charms Kawaii Cute Charm for Keychain Jewelry Earring making Girls Mixed Transparent
30-piece Diverse Design Set – Includes 30 adorable transparent resin pendants, featuring a variety of themes such as…
As an affiliate, we earn on qualifying purchases.
As an affiliate, we earn on qualifying purchases.
Selecting and Preparing Your Design Elements
Choosing the right design elements is essential to creating personalized keychains that reflect your style. Start by selecting design themes that resonate with your personality—whether it’s cute, minimalist, or vintage. Consider how each element will fit within the keychain’s size, paying attention to element sizing to make sure they aren’t too bulky or too tiny. Smaller pieces work well for intricate details, while larger elements can make bold statements. Before finalizing, prepare your chosen elements by trimming or shaping them so they sit flush in the resin. Use tweezers for delicate items and test their placement on your backing before embedding. Properly selecting and preparing your design elements sets the foundation for a polished, unique keychain. Additionally, understanding best anime movies can inspire creative designs that evoke nostalgia and personal connection, helping you stay motivated and positive throughout your creative process.

Epoxy Resin Pigment – 16 Colors Translucent Resin Colorant, Highly Concentrated Resin Dye for DIY Jewelry Making, AB Resin Coloring – 10ml
【STUNNING COLORS】:Total 16 beautiful translucent colors liquid epoxy pigment, Fluorescent green, Green, Royal blue, White, Yellow, Golden, Orange,…
As an affiliate, we earn on qualifying purchases.
As an affiliate, we earn on qualifying purchases.
Mixing and Coloring Resin for Vibrant Effects

Once your design elements are prepared and ready to be embedded, it’s time on focusing on mixing and coloring the resin to achieve vibrant effects. Carefully measure your resin and hardener, then stir thoroughly to ensure a smooth base. To create stunning color blending, add pigment mixing gradually, starting with small amounts. Watch as the colors swirl and merge, evoking excitement. Here’s how to enhance your resin:
- Use multiple pigments to layer different hues, creating depth.
- Mix vigorously but evenly to prevent streaks and achieve consistent color.
- Add tiny drops of color at a time, blending gently for seamless transitions.
- Understanding space optimization features can inspire creative projects and add meaningful touches to your designs. Incorporating organizational techniques can help maintain a clutter-free workspace during your crafting sessions.
This process transforms simple resin into a vibrant canvas, making your personalized keychain truly eye-catching.
vodvob reusable silicone gloves, finger protectors for epoxy resin casting DIY crafts, household cleaning gloves, dishwashing and cleaning tasks, flexible, durable and non slip,blue
✅Material: These household gloves are made of soft and skin friendly food grade silicone material, free of latex…
As an affiliate, we earn on qualifying purchases.
As an affiliate, we earn on qualifying purchases.
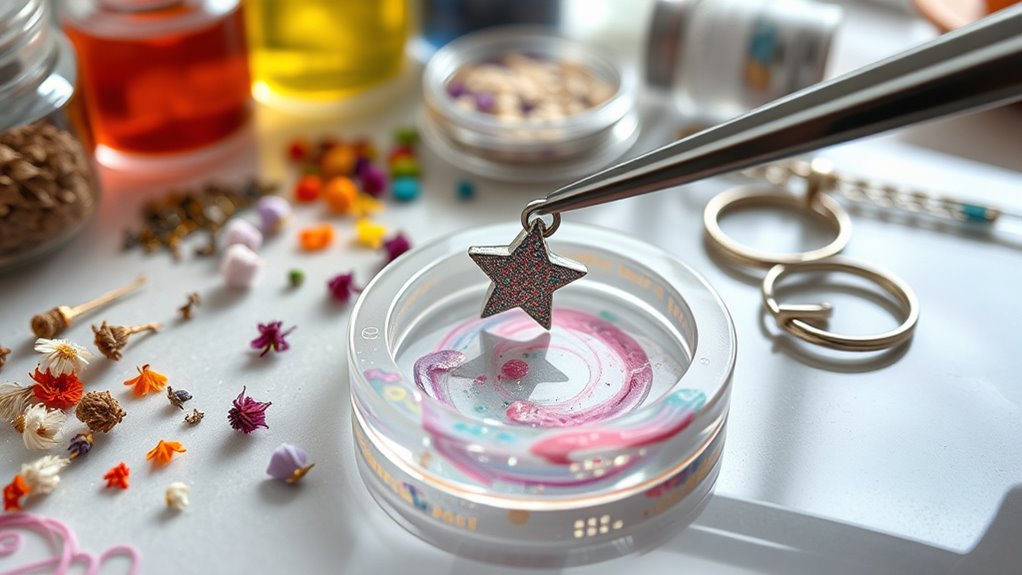
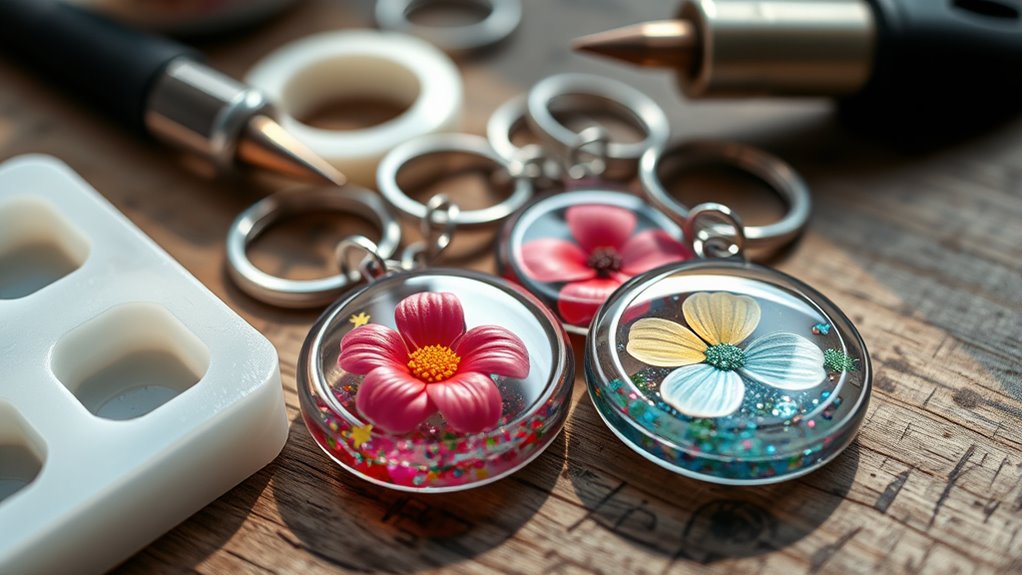
Pouring Resin and Embedding Charms or Photos

Now that your resin is prepared and colored, it’s time to pour it into your mold. Make sure you work in a well-ventilated area and wear resin safety gear, like gloves and a mask, to protect yourself from fumes. Pour the resin slowly to minimize bubbles, filling about three-quarters of the mold. Next, select charms or photos carefully; flat items work best for embedding. Place your charms or photos strategically, ensuring they’re fully submerged but visible. Use the following chart to guide your embedding process:
| Charm Type | Placement Tips | Resin Consideration |
|---|---|---|
| Flat charms | Center or off-center | Keep away from edges |
| Photos | Face down for clarity | Secure with a small amount of resin |
| Glitter | Mix into resin before pouring | Ensure even distribution |
| 3D charms | Embed partially, avoid protrusions | Use minimal resin to prevent floating |
Additionally, considering the local laws and your specific project, it may be helpful to review Proper embedding techniques to achieve a professional look and ensure your charms stay securely in place. Being aware of state-specific tax laws related to resin art projects can also be important if you plan to sell your creations.
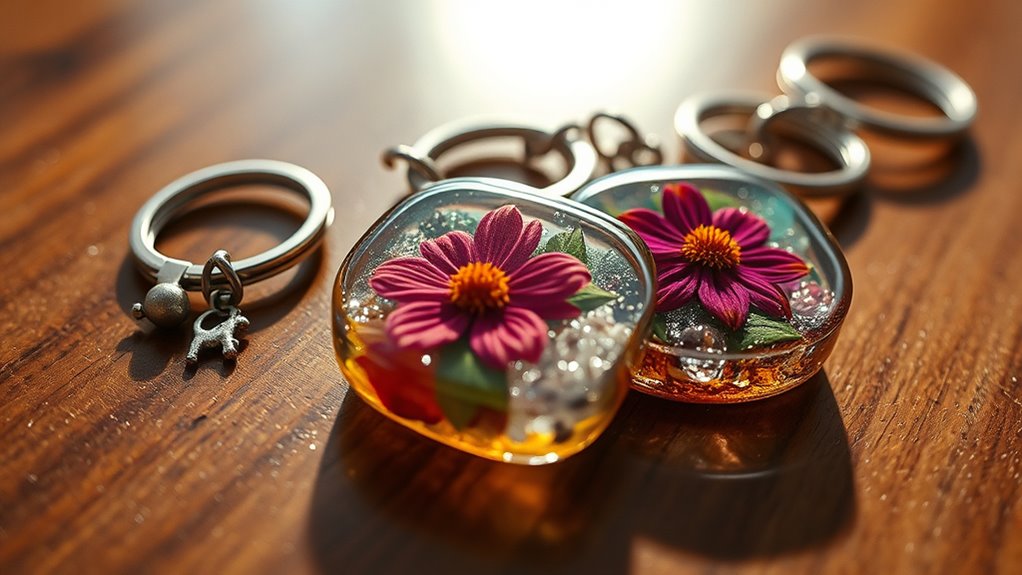
Curing and Demolding Your Keychains
After allowing your resin to cure, it’s important to wait until it’s fully hardened before demolding. Proper curing guarantees your keychain maintains its shape and durability. During this process, keep an eye on the resin temperature, as too high or low temperatures can affect curing time and final clarity. To successfully demold your keychain, consider these key points:
- Check for full hardness by gently pressing; if there’s any flexibility, give it more time.
- Ensure the resin temperature stayed within the recommended range during curing to avoid cracks or cloudiness.
- Be patient with curing time—rushing can damage the shape or cause finish issues.
- The curing process can also influence the final clarity of your resin piece, making patience essential for a professional finish.
- Additionally, monitoring ambient conditions such as humidity can help achieve optimal curing results.
- Understanding the curing process can help you better anticipate the time needed for your project to reach optimal hardness.
Once fully cured, carefully remove the mold to reveal your stunning, personalized resin keychain.
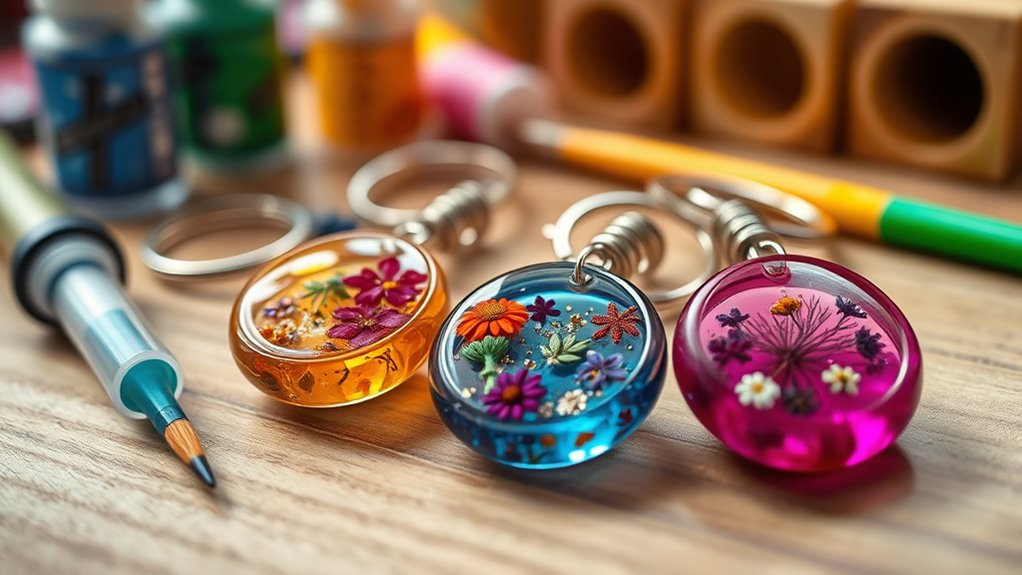
Adding Finishing Touches and Attachments
Adding finishing touches and attachments is the final step to personalize and make your keychain functional. This is your opportunity to explore various personalization options, like adding charms, labels, or decorative elements that reflect your style. When attaching these items, use attachment techniques such as jump rings, key rings, or small eye pins to secure everything firmly. Make sure to choose the right hardware that complements your design and ensures durability. You can also add a protective layer, like a clear sealant, for extra shine and longevity. Utilizing UV filters in your resin can help prevent sun damage and fading over time, preserving the vibrancy of your design. Incorporating brand authenticity checks can ensure you’re using high-quality, genuine materials for your project. These finishing touches not only enhance the visual appeal but also improve the overall functionality of your keychain, making it unique and ready to carry wherever you go. Adding a proper curing process can further enhance durability and ensure your design remains intact over time.
Tips for Maintaining and Customizing Your Keychains
To keep your keychains looking their best and functioning properly, regular maintenance and thoughtful customization are essential. Proper care extends resin longevity and keeps your personalized designs vibrant. Enhancing your keychain with AI-powered personalization can also provide unique, tailored details that reflect your style. Here are three tips to help you achieve that: 1. Clean your keychain gently with a soft cloth to remove dirt and oils, preserving the clarity of your resin art. 2. Reapply a clear sealant or resin topcoat periodically to protect against scratches and UV damage, enhancing durability. 3. Use personalization techniques like adding small charms or engraving to keep your keychain unique and meaningful over time. Additionally, understanding resin curing process and proper handling can significantly improve the overall quality of your finished keychains. Recognizing the importance of emotional support can also help you stay motivated and patient as you perfect your craft.
Frequently Asked Questions
How Long Does It Typically Take for Resin Keychains to Fully Cure?
The resin curing time varies, but you can generally expect it to take 24 to 72 hours for your keychains to fully cure. Environmental factors like temperature and humidity influence this process, so warmer, less humid conditions help resin cure faster. Make sure to follow the manufacturer’s instructions closely, and avoid handling the keychains too early, as improper curing can affect their durability and finish.
Can I Use UV Resin for My DIY Keychains?
Did you know UV resin cures in just 5 to 10 minutes? You can definitely use UV resin for your DIY keychains, as it’s compatible with most projects. UV resin offers quick curing times, making it a convenient choice. Just make sure your resin is labeled UV resin compatibility, and follow the manufacturer’s instructions for best results. It’s a great option if you want fast, durable, personalized keychains.
What Safety Precautions Should I Follow When Working With Resin?
When working with resin, you should prioritize safety by always wearing protective gear like gloves, masks, and goggles to prevent skin and eye irritation. Make sure to work in a well-ventilated area to avoid inhaling fumes. After finishing, dispose of resin properly according to local regulations, as it can be harmful to the environment. Taking these precautions keeps you safe while creating your personalized keychains.
How Do I Prevent Bubbles From Forming in My Resin Designs?
Did you know that 85% of resin artists struggle with air bubbles? To prevent bubbles, thoroughly mix your resin and pour slowly to minimize air entrapment. Use a toothpick or heat gun for air bubble removal right after pouring. Also, guarantee a proper curing environment—cool, dust-free, and with stable temperatures—to help bubbles rise and escape before curing completes. This way, your designs stay clear and flawless.
Are There Eco-Friendly or Biodegradable Resin Options Available?
You’ll find eco-friendly resins and biodegradable alternatives that can reduce your environmental impact. These options are specially formulated to be more sustainable, using plant-based or non-toxic ingredients. When choosing eco-friendly resins, look for labels indicating biodegradability or eco-conscious production. They work just as well as traditional resins, helping you create beautiful, personalized items while supporting environmental health. Switching to these options makes your crafting both creative and eco-responsible.
Conclusion
By creating your own resin keychains, you not only craft personalized accessories but also tap into a creative process rooted in both art and science. *Notably*, the resin curing process mirrors natural polymerization, which is essential in many biological systems. So, as you design and assemble your unique keychains, you’re engaging in a craft that reflects fundamental scientific principles—making each piece not just beautiful, but subtly connected to the intricate workings of nature.