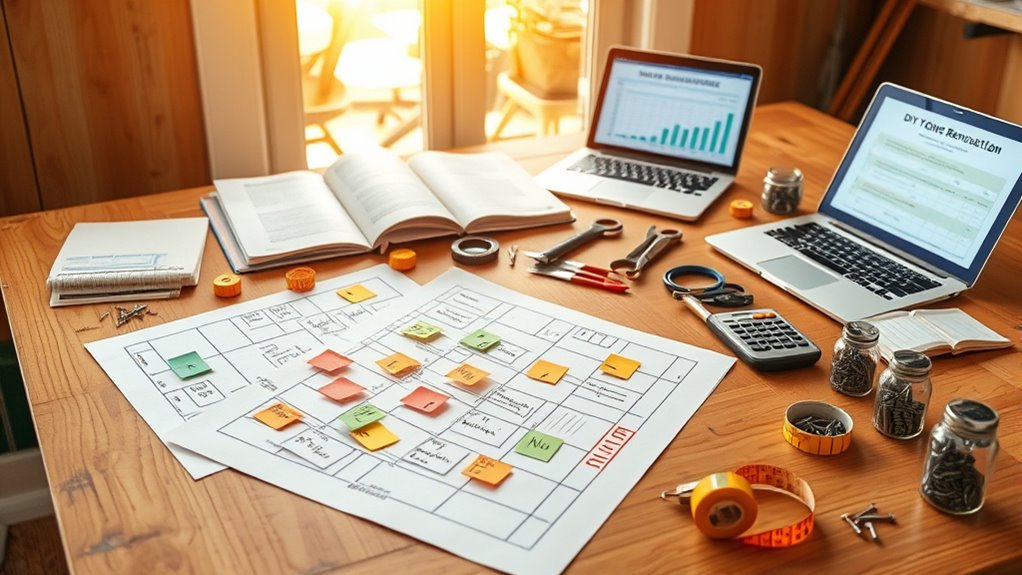

To plan a DIY project effectively, start by setting a realistic budget, prioritizing durable materials over the cheapest options to guarantee long-term success. Break down the project into clear milestones with specific deadlines, and create a detailed timeline that includes ordering supplies, completing tasks, and scheduling inspections. Build in buffer time for unexpected delays and stay flexible as needed. Focusing on thorough planning now helps keep your project on track—keep going to learn additional tips.
Listen free for 30 days with Audible
Thousands of audiobooks and originals — cancel anytime.
As an affiliate, we earn on qualifying purchases.
Key Takeaways
- Define clear project milestones and deadlines to organize tasks effectively.
- Research and select durable materials early, tracking costs to stay within budget.
- Create a detailed timeline with start and end dates for each phase, including buffer periods.
- Incorporate flexibility to adjust schedules and accommodate unexpected delays or issues.
- Stay disciplined by proactively addressing potential setbacks and regularly reviewing progress.

Planning a DIY project from start to finish can seem overwhelming, but breaking it down into clear steps makes it manageable. One of the first things you need to focus on is material selection. Picking the right materials isn’t just about aesthetics; it’s about durability, cost, and suitability for your specific project. When you choose materials, consider the quality and how they will hold up over time. Don’t just go for the cheapest options—think about the longevity and whether they’ll meet your needs. Research different types of supplies and read reviews to ensure you’re making informed decisions. Material selection also impacts your overall budget, so keep track of costs early on to avoid surprises later. Once you’ve nailed down your materials, establish your project milestones. Breaking the project into smaller, achievable goals helps keep you motivated and on track. For example, a milestone could be completing the framing stage or finishing the painting. These checkpoints give you a sense of progress and allow you to reassess your timeline if needed. When setting milestones, be realistic about how long each task will take, and add some buffer time for unexpected delays. Knowing your project milestones helps you allocate your time more effectively and prevents last-minute rushes. As you plan, it’s essential to create a detailed timeline that aligns with your milestones. Be specific about when you want to start and finish each phase, and include deadlines for ordering materials, completing certain tasks, and final inspections. This schedule will serve as your roadmap, helping you stay organized and avoid missing critical steps. Keep in mind that flexibility is key; sometimes, delays happen, or you might find yourself needing to adjust your plan. Regularly revisit your timeline and milestones to make sure you’re staying on course. Additionally, factor in buffer periods for unforeseen issues, like material shortages or tool problems. Understanding different butter making techniques can also inspire creative solutions if your project involves food prep or presentation. Staying disciplined with your planning allows you to anticipate potential setbacks and address them proactively. Remember, successful DIY projects hinge on good planning—from selecting the right materials to setting achievable milestones and sticking to a realistic timeline. By doing so, you turn what could feel like chaos into a structured, manageable process. This approach will help you stay motivated, save money, and ultimately achieve a finished project that you can be proud of.
As an affiliate, we earn on qualifying purchases.
Frequently Asked Questions
How Do I Handle Unexpected Expenses During My Project?
When unexpected expenses pop up, you should rely on contingency planning and expense tracking. Keep a reserve fund for surprises and update your expense tracker regularly to spot issues early. If costs increase, revisit your budget, prioritize essential tasks, and adjust your timeline accordingly. Staying flexible and proactive helps you manage surprises without derailing your project, ensuring you stay on track financially and timeline-wise.
What Are the Best Tools for Beginner DIYERS?
For beginner projects, you should focus on versatile, easy-to-use tools. Start with a cordless drill, a set of screwdrivers, measuring tape, level, and a utility knife. These tools cover most basic tasks and make tool selection simple. As you gain experience, you can add more specialized tools. Remember, choosing quality tools guarantees safety and durability, making your DIY projects smoother and more enjoyable from the start.
How Can I Prioritize Tasks Effectively?
To prioritize tasks effectively, start by breaking your project into smaller steps and set clear deadlines for each. Use task delegation to assign responsibilities where possible, ensuring you focus on critical tasks first. Keep deadlines in mind and adjust your schedule as needed. Regularly review your progress, and don’t hesitate to reorder tasks based on urgency or new insights, helping you stay on track and avoid unnecessary delays.
What Safety Precautions Should I Take?
Think of safety as your shield in a battlefield, protecting you from unexpected hazards. Always wear personal protective equipment like gloves, goggles, and masks to guard against splinters, fumes, or debris. Practice safe tool handling by keeping blades sharp, unplugging power tools when not in use, and following manufacturer instructions. Stay alert, take breaks, and never rush—these precautions turn your project into a safe adventure rather than a risky quest.
How Do I Choose the Right Materials for My Project?
You should focus on material selection by considering durability, cost, and compatibility with your project’s goals. Opt for eco-friendly options to enhance project sustainability, like reclaimed wood or recycled materials. Check reviews and specifications to guarantee the materials meet safety standards. By choosing wisely, you’ll create a lasting, environmentally conscious project that stays within your budget and aligns with your sustainability values.
As an affiliate, we earn on qualifying purchases.
Conclusion
By budgeting wisely, setting clear timelines, and staying organized, you turn your DIY project into a success. Keep your goals realistic, track your progress, and adapt as needed. Remember, planning saves time, saves money, and reduces stress. Embrace the process, learn from setbacks, and celebrate your achievements. With focus and dedication, you’ll not only complete your project but also enjoy the satisfaction of creating something truly your own. Happy building!
As an affiliate, we earn on qualifying purchases.
As an affiliate, we earn on qualifying purchases.
Fall Picks
fall essentials
As an affiliate, we earn on qualifying purchases.