To wrap awkwardly shaped presents like a pro, start by gathering high-quality wrapping paper, support materials, and tools like scissors and tape. Measure carefully, cutting extra paper for folding. Use strategic folding, tucking, and filling gaps with support shapes to create a clean look. Secure all edges firmly and add finishing touches like ribbons and tags. With practice and creativity, you’ll master professional-looking presentations—keep going to discover all the expert tricks involved.
Key Takeaways
- Use sturdy support materials like cardboard or foam to stabilize irregular shapes before wrapping.
- Measure carefully and add extra paper for folding, tucking, and smoothing out uneven surfaces.
- Practice creative folding and tucking techniques to conceal edges and achieve neat, clean lines.
- Incorporate tissue paper or fabric to smooth irregular surfaces and add a polished look.
- Finish with decorative ribbons and personalized tags to enhance presentation and distract from shape imperfections.
Gather the Right Materials and Tools
Before you start wrapping those tricky, awkwardly shaped presents, it’s important to gather all the necessary materials and tools. First, grab some high-quality wrapping paper that can handle irregular shapes. You’ll also need decorative ribbons to add a festive touch and gift tags to personalize each gift. Keep a pair of sharp scissors nearby to make clean cuts, and have some double-sided tape or gift adhesive ready for secure wrapping. Consider using a ruler or measuring tape if you want precise edges, even if you plan to measure later. Having everything within reach helps you work efficiently and prevents frustration. By preparing these materials beforehand, you’ll make the wrapping process smoother and ensure your presents look polished, no matter their shape. Incorporating vintage decor elements can also add a charming, rustic touch to your presentation, especially when paired with wrapping techniques designed for awkward shapes. Familiarizing yourself with gift wrapping supplies can further streamline the process and elevate your gift presentation.
Measure and Cut the Wrapping Paper Accurately
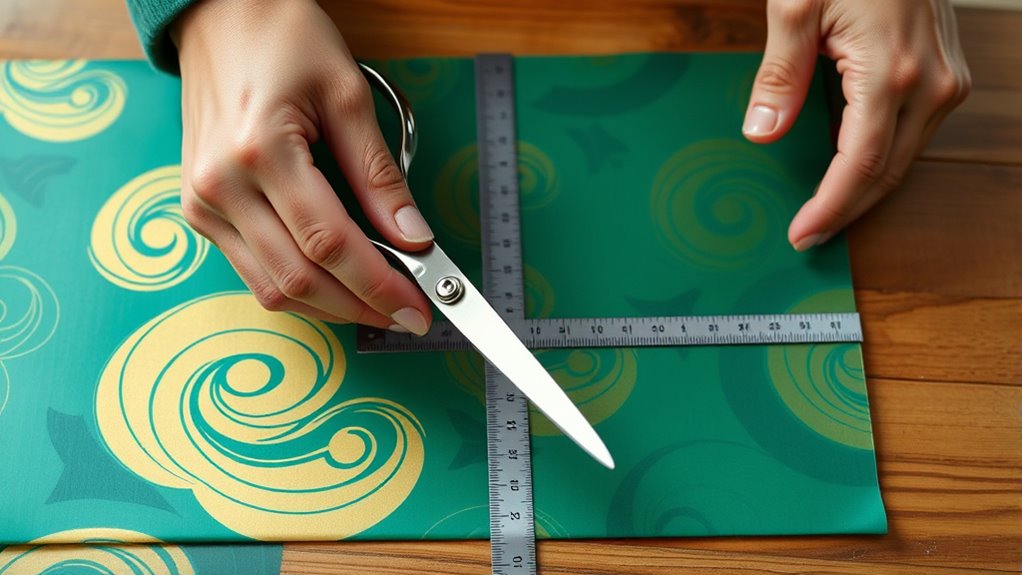
Start by measuring the dimensions of your awkwardly shaped gift. Use a flexible measuring tape to get the length, width, and height, guaranteeing you account for protrusions or irregularities. Accurate measurements are essential for measuring accuracy, so double-check each dimension before transferring it to your wrapping paper. When cutting, aim for cutting precision; use sharp scissors to make clean, straight cuts along your measured lines. Cutting precisely prevents excess paper and reduces waste. Remember to add a few extra inches around each measurement to allow for folding and tucking later. Taking your time during this step ensures your wrapping fits snugly and looks neat. Proper measurement and careful cutting lay a solid foundation for a professional-looking wrap, even with challenging shapes. Incorporating precise measurements can help you achieve a smoother, more polished finish. Additionally, ensuring that your cutting technique is sharp and accurate will contribute significantly to the overall neatness of your wrapped gift. Paying attention to wrapping materials, such as quality paper and tape, can also enhance the final presentation. Using appropriate tools like a ruler or straight edge can further improve your cutting accuracy. To elevate your wrapping skills, consider understanding how home theatre projectors utilize precise calibration and measurements to optimize display quality—this attention to detail can inspire your gift-wrapping precision and neatness.
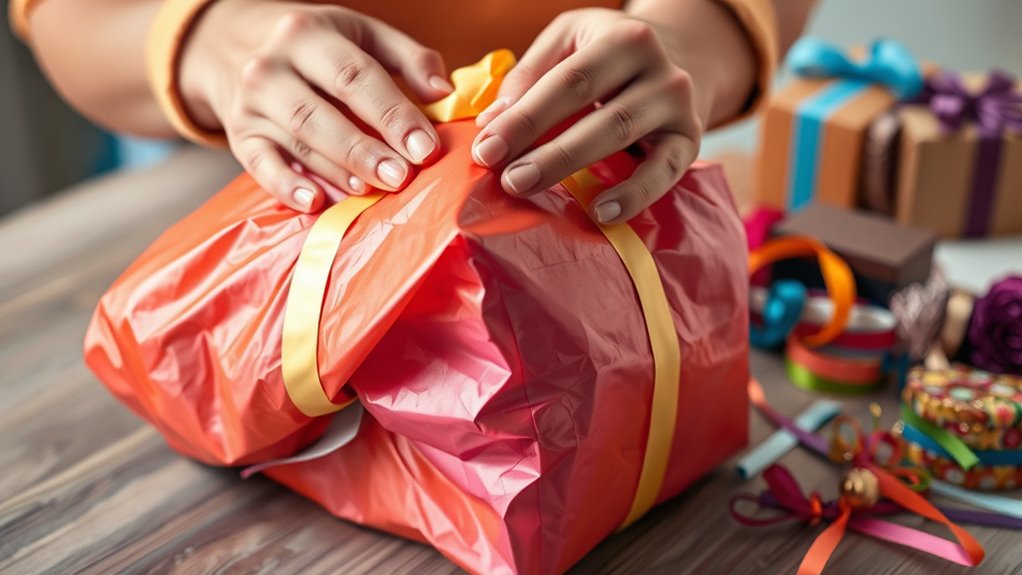
Use Strategic Folding and Tucking Techniques

When wrapping awkwardly shaped presents, strategic folding and tucking can make all the difference in achieving a neat appearance. Use creative folding to smooth out uneven edges and corners, making the surface more uniform. For protruding parts, fold the excess paper neatly against the gift, then tuck in the edges firmly to hide any gaps. Strategic tucking involves carefully inserting the paper into creases or folds to secure it tightly without bunching. Focus on creating clean lines by folding the paper in small, precise sections before smoothing everything out. This technique helps conceal irregular shapes and makes the wrapping look professional. Incorporating pinball mechanics into your approach can also help adapt your technique to different gift shapes and sizes, making the process easier. Understanding regional resources can provide additional tips or tools for wrapping challenging gifts, especially if you have access to specialized supplies. Using proper materials, such as sturdy wrapping paper and sharp scissors, can further enhance your results. Practicing these methods regularly will enhance your skill and confidence in gift wrapping, even for the most awkward shapes. With practice, these methods will become second nature, transforming even the most awkward gifts into beautifully wrapped presents.
Secure Edges and Seams Effectively
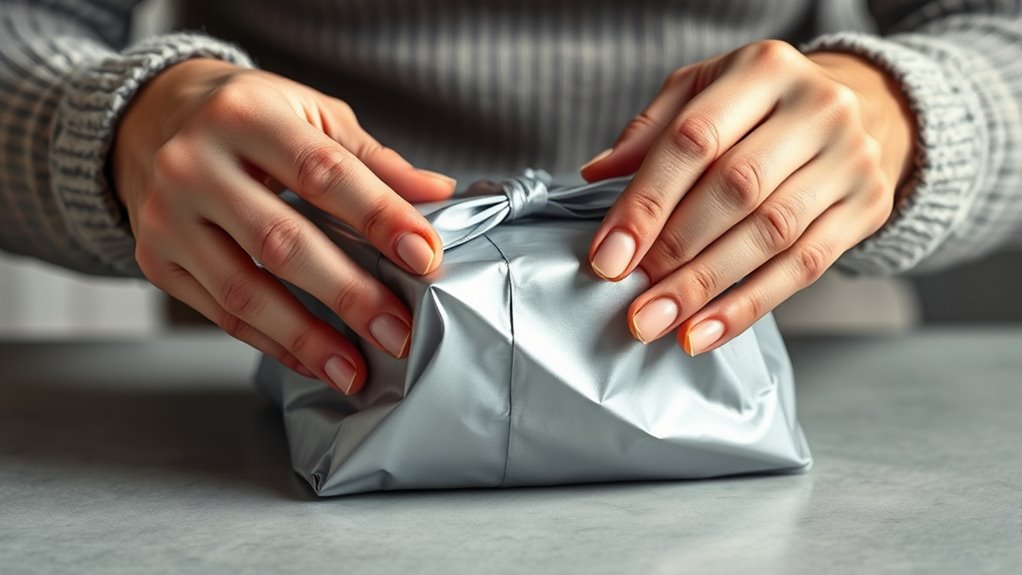
Once you’ve folded and tucked your wrapping paper for a neat appearance, securing the edges and seams guarantees your gift stays tidy and professional-looking. Start with clean edge folding along each side to create crisp lines. Apply tape carefully, using small pieces to hold seams in place without excess bulk. Place the tape along the inside edge first, then smooth it out for a secure hold. For corners, fold the paper neatly and tape along the seam, ensuring it stays flat. For added security, run your finger along the tape to press it firmly into place. This technique prevents the paper from unfolding or tearing, especially on awkward shapes. Proper tape application and precise edge folding give your wrapped gift a polished, gift-ready appearance. Additionally, understanding common wrapping techniques can significantly improve your presentation and help you handle awkwardly shaped presents with confidence. Being aware of safety tips when handling scissors and tape can also help prevent accidents during your wrapping process. Incorporating appropriate tape types designed for gift wrapping can further enhance the durability of your wrapping. Moreover, practicing these methods can boost your wrapping skills, making the task quicker and more enjoyable.
Incorporate Additional Materials for Support
Adding extra materials like cardboard inserts, foam shapes, or tissue paper can considerably improve the support and structure of awkwardly shaped presents. These materials help keep the shape intact and make wrapping easier. To enhance your presentation, consider these steps:
- Cut a sturdy cardboard to fit inside your gift for added support.
- Use foam shapes to fill gaps and stabilize delicate items.
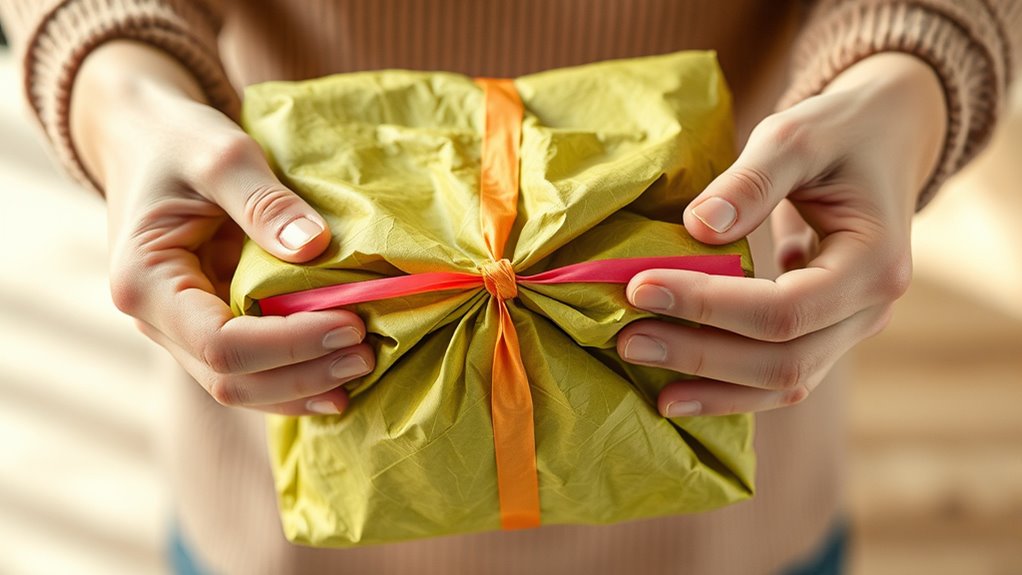
- Wrap tissue paper around irregular surfaces for a smooth look.
- Finish with decorative ribbons to secure the wrapping and add elegance, and attach a gift tag for a personalized touch. Incorporating these materials not only improves support but also creates a polished, professional appearance, even for tricky shapes. Additionally, understanding how to wrap awkwardly shaped presents like a pro can save time and reduce frustration during the holiday season. Using proper wrapping techniques can make a significant difference in achieving a neat finish. Implementing these support materials can also help ensure your gift remains intact during transit. Being aware of material properties can guide you in choosing the most suitable fillers and supports, ensuring your wrapped gift holds its shape and looks attractive. Moreover, maintaining open communication with recipients about the nature of your wrapping can set expectations and enhance their unwrapping experience. This approach ensures your gift looks beautifully wrapped and ready to impress.
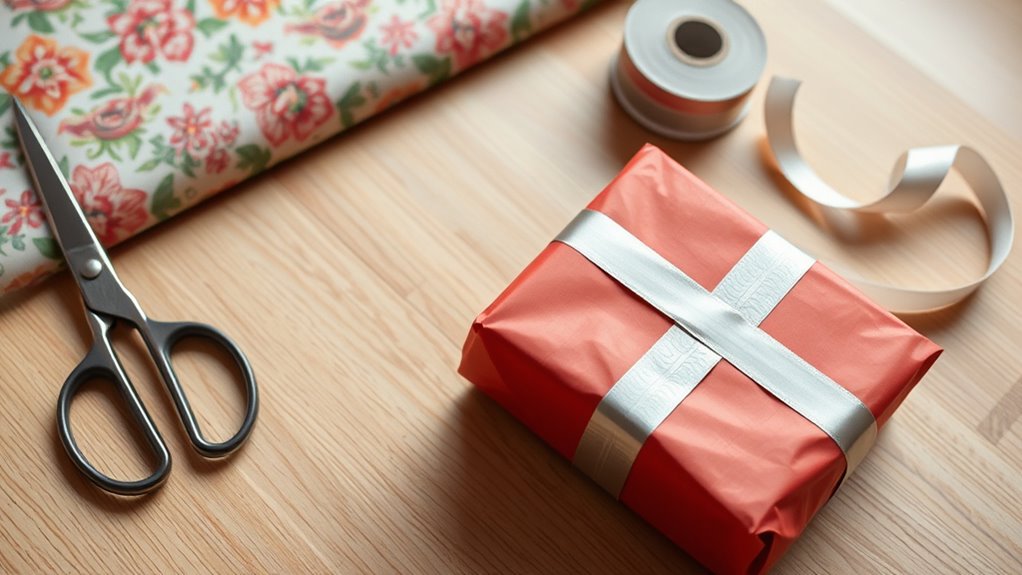
Add Finishing Touches for a Polished Look
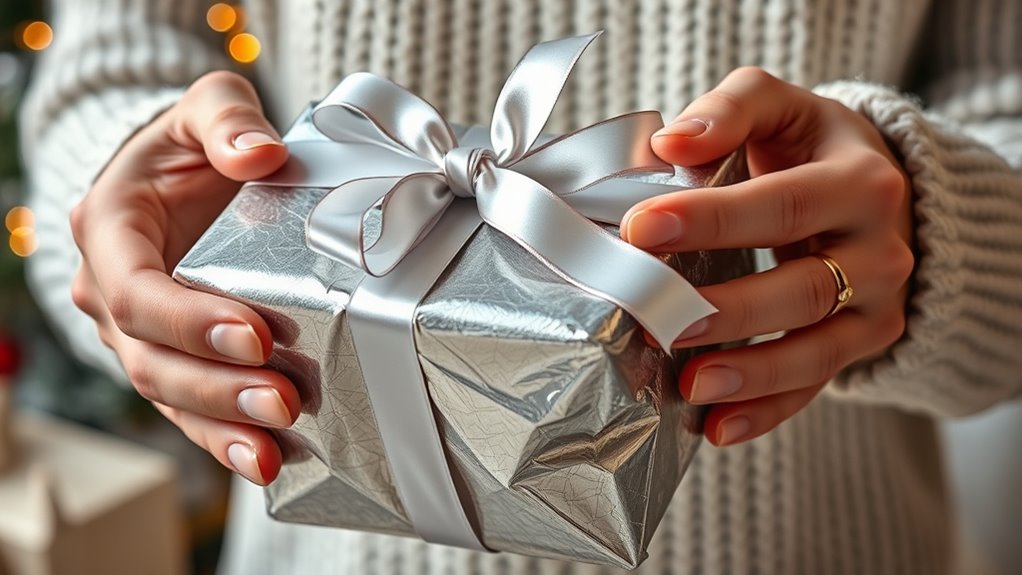
After securing your wrapping with ribbons and tags, the final step is to add finishing touches that elevate the overall presentation. Use decorative ribbons to create elegant bows or layered loops, giving your package a polished appearance. Choose ribbons that complement the wrapping paper or the theme of your gift for a cohesive look. Adding a thoughtfully placed gift tag not only identifies the recipient but also adds a personal touch. Write a heartfelt message or simply their name for a charming detail. Make sure your ribbons are neatly tied and your gift tag is securely attached. These small finishing touches transform an awkwardly wrapped present into a beautifully presented gift that shows effort and care.
Practice and Experiment With Different Shapes
Practicing and experimenting with different shapes allows you to discover creative ways to wrap awkwardly shaped presents. By trying out various methods, you can develop unique techniques that make your wrapping stand out. For example:
- Use creative folding to conceal irregular edges and create neat lines.
- Incorporate decorative accents like bows, ribbons, or tags to divert attention.
- Experiment with wrapping materials such as tissue paper or fabric for added flexibility.
- Try different box shapes or layering techniques to stabilize tricky items.
These approaches help you adapt your wrapping skills, making even the most challenging presents look professional. Embracing experimentation boosts your confidence and sparks creativity, so don’t hesitate to explore new ideas and refine your craft.
Frequently Asked Questions
How Can I Wrap Extremely Irregular or Fragile Objects Safely?
When wrapping irregular or fragile objects, you should prioritize protecting the item with creative wrapping techniques. Use tissue paper or bubble wrap to cushion delicate parts, then cover it with wrapping paper. For added security, create decorative accents like bows or ribbons to hide seams and reinforce the wrapping. This approach guarantees your gift looks beautiful while keeping the fragile item safe during transit. Your creative wrapping turns challenges into charming presentations.
What Are the Best Tapes or Adhesives for Tricky Shapes?
When wrapping tricky shapes, you’ll want to choose the right tapes and adhesives. Double-sided tape works well for sticking wrapping paper securely, especially on irregular surfaces, without adding bulk. Wrapping foam can give extra cushioning and help shape your gift. Use it to fill gaps, then secure everything with double-sided tape. This combo keeps your wrapping neat, sturdy, and professional-looking, even with the most awkwardly shaped presents.
How Do I Prevent Tearing or Damaging Delicate Wrapping Paper?
Think of delicate wrapping paper as a fragile butterfly; handle it gently to avoid tears. To prevent damage, choose wrapping paper with good durability, and use light pressure when folding or taping. Gift presentation tips include cutting carefully and smoothing out wrinkles. By treating it tenderly, you’ll keep your wrapping pristine and beautiful, making your gift feel even more special. Remember, patience is your best tool for perfect presentation.
Are There Specific Techniques for Wrapping Soft, Squishy Items?
When wrapping soft, squishy items, you should use fabric wrapping to prevent damage and add a unique touch. Start by gently shaping the item, then use creative folding techniques to secure it neatly. Wrap the fabric tightly but gently, tucking edges smoothly to avoid bulges. This method gives a polished look and keeps delicate objects safe, making your gift stand out with a personalized, eco-friendly presentation.
How Can I Hide Visible Seams or Uneven Edges Effectively?
To hide visible seams or uneven edges, you can use wrapping illusions like layering tissue or wrapping paper for seam concealment. Fold or crumple the extra paper to mask imperfections and secure with double-sided tape. Adding a decorative bow or ribbon can also distract from uneven edges. Remember, a little extra padding and strategic placement of embellishments go a long way in creating a polished, professional look.
Conclusion
So there you have it—wrapping those tricky presents is practically an art form now. With a little patience, some strategic folding, and maybe a few tears of frustration, you’ll become the Picasso of gift wrapping. Who knew that hiding awkward shapes could be so satisfying? Now, go forth and impress everyone with your expertly wrapped, perfectly imperfect gifts—because nothing says “I care” like a little artistic chaos wrapped with confidence. Happy wrapping!