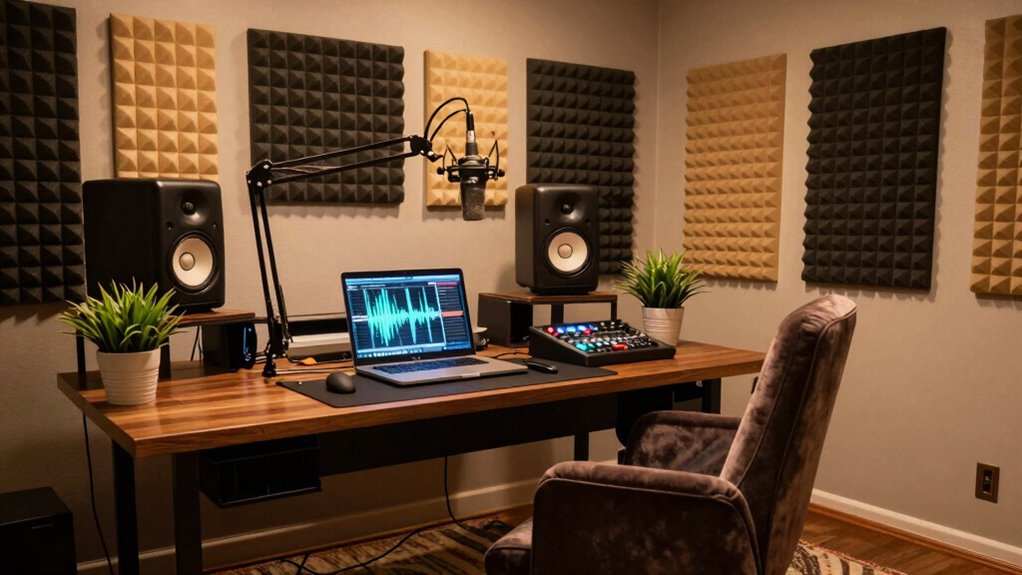

To build a better recording corner at home, start by soundproofing your space to block out external noise and echoes, and add acoustic treatments like foam panels to improve sound quality. Position your microphone away from reflective surfaces and at the right height using stands or boom arms. Organize cables, use vibration mounts, and arrange furniture to enhance acoustics while keeping your gear accessible. Focus on optimizing room shape and space for the best results—explore more tips to perfect your setup.
Key Takeaways
- Choose a quiet, isolated corner away from external noise sources and reflective surfaces.
- Use acoustic panels and furniture placement to reduce echoes and improve sound quality.
- Position your microphone and speakers carefully, maintaining proper distance and angles for optimal capture.
- Keep cables organized and use isolation mounts to minimize vibrations and electrical interference.
- Create designated zones for recording, editing, and storage to enhance organization and workflow.
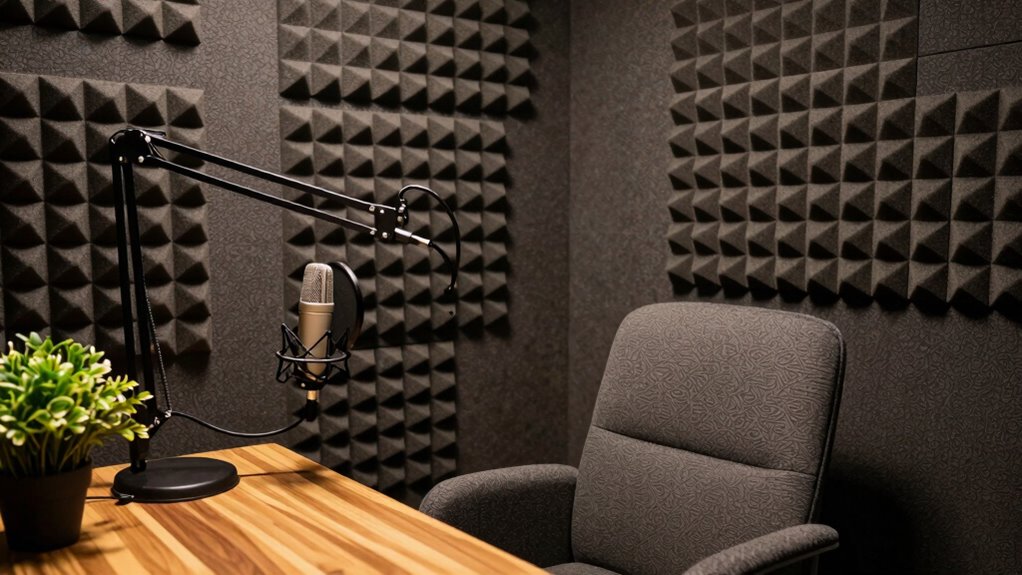
Once you’ve addressed soundproofing, focus on equipment placement. Where you position your microphone, speakers, and other gear directly impacts your audio clarity. Keep your microphone away from reflective surfaces like windows or hard walls, which can cause echo and muddiness. Instead, place it in a spot where sound waves can reach it evenly, ideally slightly away from walls. Use stands or boom arms to position your mic at the right height and angle, avoiding any contact with surfaces that might cause vibrations or noise. Your speakers should also be positioned correctly; place them at ear level and form an equilateral triangle with your listening position to ensure accurate sound reproduction. Proper acoustic treatment can further optimize your setup by reducing unwanted reflections and echoes. Additionally, experimenting with soundproofing materials and their placement can help you find the most effective setup for your specific space. Using room dimensions and shape to influence sound behavior, you might find that some furniture adjustments can enhance your acoustics even more.
In addition, consider the placement of your recording equipment itself. Keep cables organized and away from sources of electrical interference, which can introduce noise into your recordings. Using isolation pads or mounts can help prevent vibrations from transferring to your equipment, keeping your sound clean. When arranging your gear, think about accessibility—being able to reach controls easily saves time and reduces accidental noise during sessions. If space allows, create designated zones for different activities, such as recording, editing, and storage, to keep things organized and efficient. Additionally, proper ventilation can also prevent equipment from overheating and maintain a comfortable environment, further enhancing your recording quality. Remember that room shape and furniture placement can also influence sound behavior, so making adjustments can sometimes improve acoustics as well. Paying attention to these details will help you develop a space that not only sounds good but feels inspiring for your projects.
As an affiliate, we earn on qualifying purchases.
Frequently Asked Questions
What Is the Ideal Room Size for a Recording Corner?
The ideal room size for a recording corner is around 6×6 feet or larger, giving you enough space for furniture arrangement and decorating aesthetics. This size helps reduce sound reflections and echoes, improving audio quality. You can comfortably position your microphone, monitor, and desk without feeling cramped. A well-sized room also allows you to add acoustic panels or décor that enhance both sound and visual appeal, creating a functional, inviting space.
How Can I Soundproof My Recording Space Effectively?
Think of soundproofing as building a fortress around your recording space. You can hang acoustic panels on walls and ceiling to absorb sound waves, preventing echo and noise. Adding sound barriers, like thick curtains or foam mats, blocks outside noise from seeping in. Seal gaps around doors and windows with weatherstripping, creating a quiet sanctuary where your recordings remain crystal clear and free of unwanted background noise.
What Budget-Friendly Equipment Is Essential for Beginners?
To get started, invest in a budget microphone that offers good sound quality without breaking the bank. DIY soundproofing options, like heavy curtains or foam panels, can considerably improve your space. You don’t need expensive gear; focus on essentials like a pop filter, a sturdy desk, and headphones. These affordable tools will help you produce clearer recordings while keeping costs low, perfect for beginners.
How Do I Manage Cables and Equipment Clutter?
To manage cables and equipment clutter, focus on cable management by using cable clips, sleeves, or zip ties to keep cords tidy and prevent tangling. Regularly organize your equipment with shelves or labeled bins, making everything easy to find and access. Implement a system for your cables and gear, and clean up your workspace after each session. Good equipment organization not only keeps your space neat but also boosts your productivity.
What Are the Best Lighting Options for a Recording Area?
The best lighting options for your recording area include combining lighting techniques like softbox lights or ring lights to provide even, flattering illumination. You should also incorporate ambient illumination, such as LED strips or dimmable overhead lights, to create a comfortable atmosphere and reduce harsh shadows. These choices help you achieve professional-looking videos and clear audio recordings, making your space both functional and inviting.
As an affiliate, we earn on qualifying purchases.
Conclusion
Creating a dedicated recording corner can boost your creativity and improve your sound quality. Remember, a well-designed space reduces echo and background noise, making your recordings clearer. Did you know that even small improvements in acoustic treatment can enhance audio quality by up to 50%? So, invest in soundproofing, organize your gear, and personalize your space. With these tips, you’ll turn your corner into a professional-sounding studio in no time—your recordings will thank you!
cable organizer for recording studio
As an affiliate, we earn on qualifying purchases.
As an affiliate, we earn on qualifying purchases.
As an affiliate, we earn on qualifying purchases.