
To make DIY upcycled wine bottle lanterns, start by gathering bottles, tools like a glass cutter, and safe handling gear. Pick bottles in shapes and colors you like, clean and dry them thoroughly, then carefully cut or pierce your design lines. Install LED lights inside, secure a stable base or hang them with sturdy hooks, and arrange them for a cozy glow. Keep exploring for detailed tips and creative ideas to craft your perfect lanterns.
Key Takeaways
- Gather suitable empty wine bottles and essential tools like glass cutters, drills, and safety gear for cutting and decorating.
- Clean, dry, and customize bottles with paint, dye, or decorative elements to create personalized lantern designs.
- Carefully cut or drill openings for lighting installation, smoothing edges for safety and aesthetics.
- Install waterproof LED lights and secure batteries, ensuring stable placement for both hanging and tabletop displays.
- Arrange lanterns creatively in groups or as hanging decorations, and maintain them with regular cleaning and proper storage.
Top picks for "upcycl wine bottle"
Open Amazon search results for this keyword.
As an affiliate, we earn on qualifying purchases.
Gathering Materials and Tools
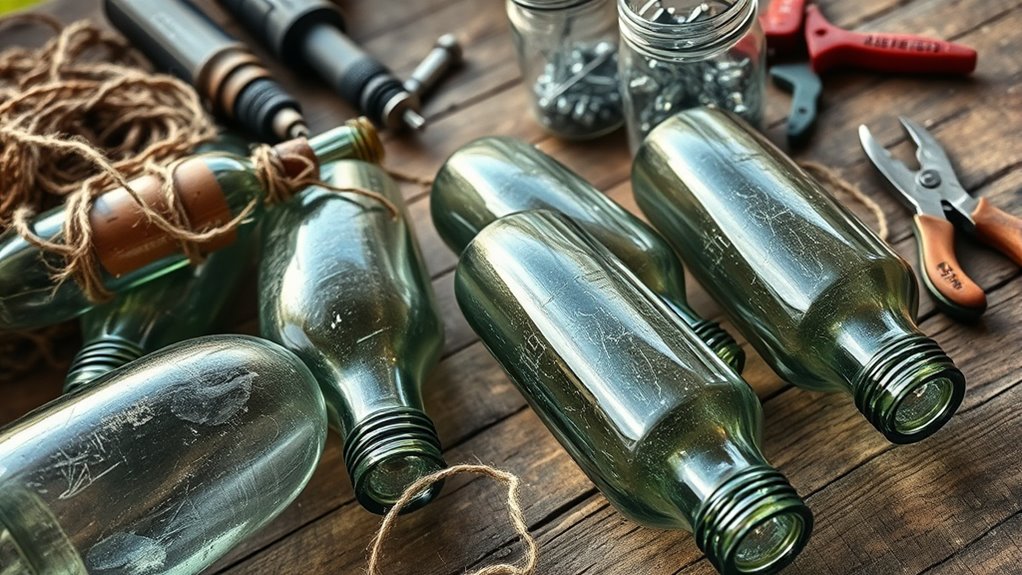
Before you begin your DIY upcycled wine bottle lantern project, gathering all the necessary materials and tools is vital. Recycling challenges often involve safely handling glass, so prioritize tools that guarantee glass safety, like gloves and a glass cutter. You’ll need empty wine bottles, a drill with a glass-appropriate bit, and decorative elements like paint or rope. Safety glasses are essential to protect your eyes during cutting or drilling. A sponge or brush will help clean the bottles afterward. To avoid accidents, work in a well-ventilated area and keep a bucket of water nearby in case of glass shards. Having everything ready beforehand makes the process smoother and safer, guaranteeing your upcycled lanterns turn out beautifully without unnecessary risks. Additionally, understanding the distinctive features of dog breeds can inspire creative designs or themes for your lantern decorations.
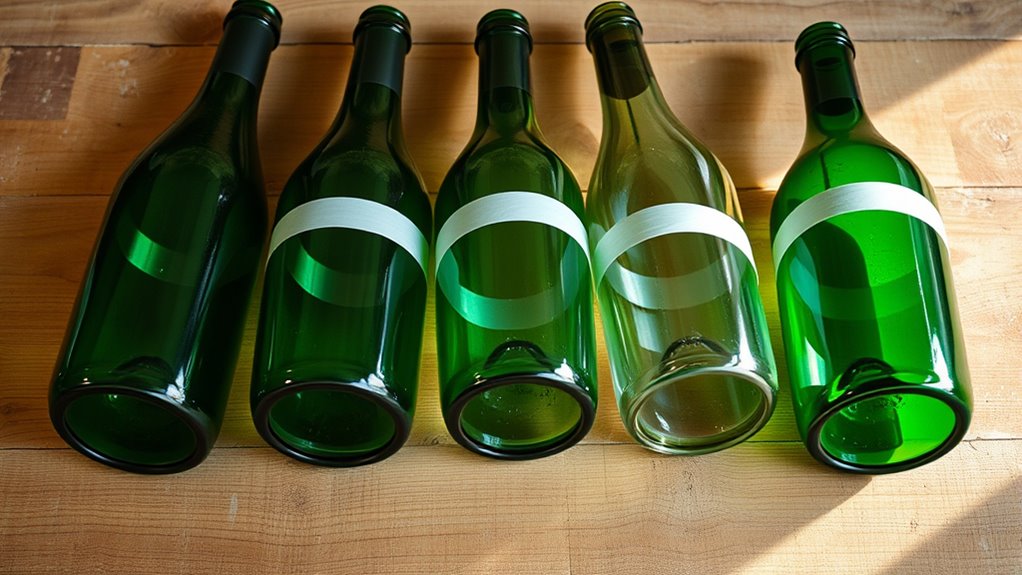
Choosing the Perfect Wine Bottles
When selecting wine bottles for your lanterns, consider different shapes to create varied lighting effects. Think about the color and transparency—lighter bottles let more light shine through, while darker ones add a cozy glow. Don’t forget to remove labels easily by soaking the bottles in warm water or using a gentle scraper to get a clean finish. For added durability, choosing bottles made from recycled materials can enhance the sustainability of your project. Additionally, selecting bottles with sturdy glass quality can help prevent breakage during handling and use.
Ideal Bottle Shapes
Choosing the right wine bottle shape is essential for creating a functional and visually appealing lantern. Different bottle shapes offer varying design versatility, allowing you to customize your project to match your style. Slim, tall bottles work well for sleek, modern lanterns, while wider, rounded bottles add a rustic charm. Consider the shape’s stability and how it will hold up when filled with light or candles. Narrow-neck bottles are easier to cut and modify, making them popular for DIY projects. The shape also influences how the lantern will diffuse light, affecting the ambiance. By selecting a bottle shape that complements your design goals, you’ll ensure your upcycled lantern not only looks great but functions perfectly. Additionally, understanding bottle shape options can help you choose the most suitable bottle for your desired lighting effect and overall aesthetic. Knowing how bottle shapes influence light diffusion can further enhance your project’s final look and functionality.
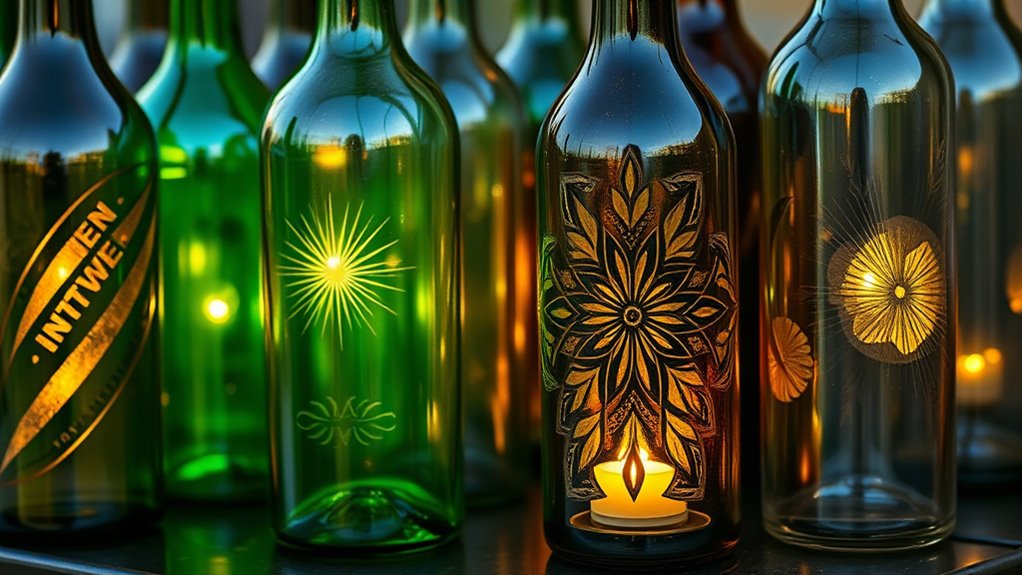
Color and Transparency
Have you considered how the color and transparency of your wine bottles can impact the overall look and feel of your lantern? Different color variations, like clear, green, or amber, create unique atmospheres and mood effects. Clear bottles allow more light to pass through, enhancing brightness and showcasing internal details. Green and amber bottles add warmth and a cozy glow, perfect for ambient lighting. Transparency effects also influence how shadows and reflections play on surrounding surfaces, giving your lantern a distinctive character. When selecting bottles, think about the ambiance you want to create—whether bright and open or warm and intimate. The right choice of color and transparency can transform your upcycled lantern into a striking centerpiece that complements your space beautifully. Additionally, understanding the effects of color and transparency can help you achieve the desired mood and aesthetic in your project. Exploring various color options can further inspire your creative process and help tailor your lanterns to specific themes or settings. Considering the material qualities of different bottles can also influence how well they diffuse light and withstand outdoor conditions.
Label Removal Tips
Selecting the right wine bottles for your lantern project begins with easy label removal. To achieve a clean, professional look, you’ll need to focus on effective label removal and thorough bottle cleaning. Here are some tips:
- Soak bottles in warm, soapy water for at least 30 minutes to loosen labels.
- Use a scraper or your fingernail to gently peel off remaining paper.
- For stubborn adhesive, apply a mixture of baking soda and water or vinegar to loosen residue.
- Rinse bottles thoroughly to remove all adhesive and soap, ensuring proper bottle cleaning.
- Dry bottles completely before decorating to prevent mold or moisture issues.
- Proper label removal and bottle cleaning contribute to color accuracy, ensuring your lanterns look polished and aesthetic appeal. Additionally, choosing bottles free of residue helps maintain the overall clarity and integrity of your project.
Preparing the Bottles for Transformation
Before you begin transforming your wine bottles into lanterns, it is vital to prepare them properly. Proper preparation ensures safe cutting and enhances your eco friendly crafts. Start by thoroughly cleaning each bottle to remove labels, glue, and residue—this makes the cutting process smoother. Using bottle recycling techniques, you can repurpose bottles instead of discarding them, supporting sustainability. Once clean, dry the bottles completely. If you plan to cut or drill, mark your design carefully with a marker. Wearing safety gloves and goggles is essential to protect yourself during the cutting process. Taking these steps guarantees your project is safe and successful, while also contributing to eco friendly crafts that reduce waste and promote recycling. Proper preparation sets the foundation for a beautiful, upcycled lantern. Additionally, understanding the importance of fatherly guidance can inspire you to create meaningful and heartfelt decorations for loved ones. Incorporating automation technology in your crafting process can further improve efficiency and precision, making your eco-friendly project even more enjoyable. Recognizing survivalist principles, such as resourcefulness and safety, can help you plan your project with resilience in mind.
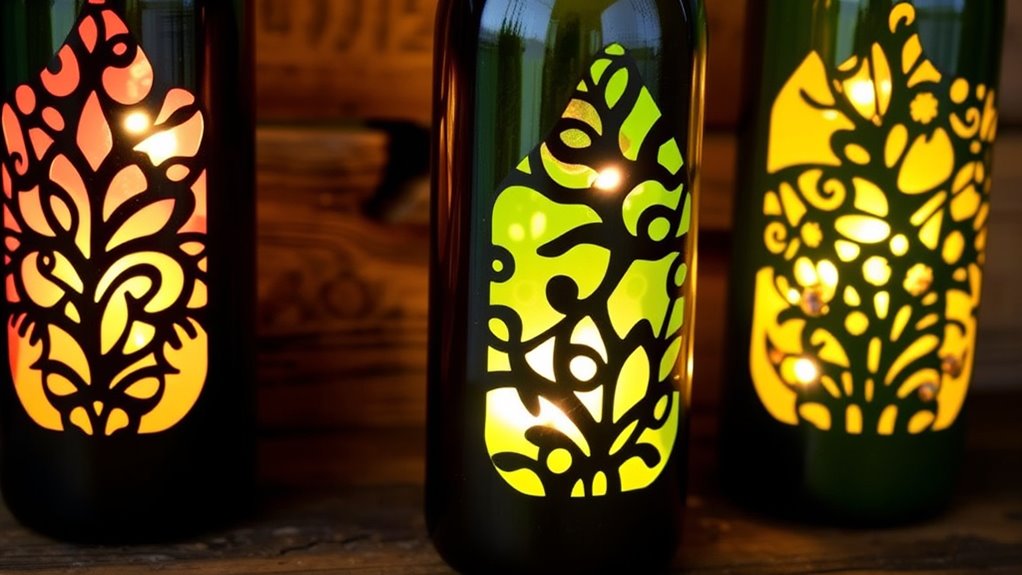
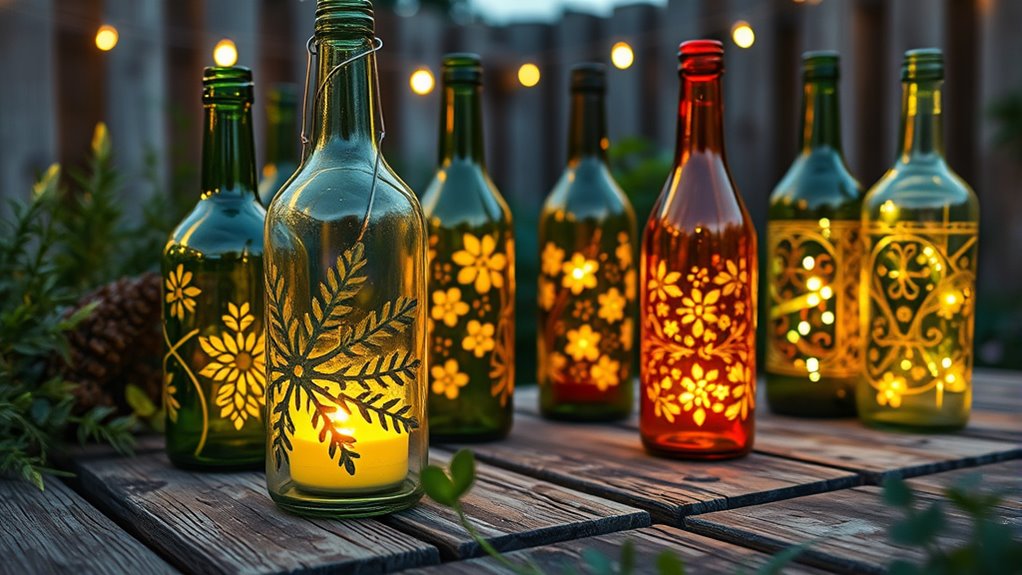
Designing Your Lanterns: Ideas and Inspiration
Once you’ve prepared your bottles, it’s time to explore design ideas that will make your lanterns stand out. Think about lighting effects that create ambiance, like flickering candles or fairy lights inside. Experiment with color schemes—warm tones for coziness or cool shades for a modern look. You can also add decorative elements to the exterior, such as paint, etching, or decals, to personalize your lanterns. Incorporate textured glass or cut patterns to enhance the lighting effects and cast interesting shadows. Consider layering different styles, blending rustic charm with sleek modern accents. The key is to match your lanterns’ design with your space’s vibe, making them not just functional but also eye-catching focal points. Get creative and let your inspiration guide you.
Cutting the Bottles Safely and Precisely
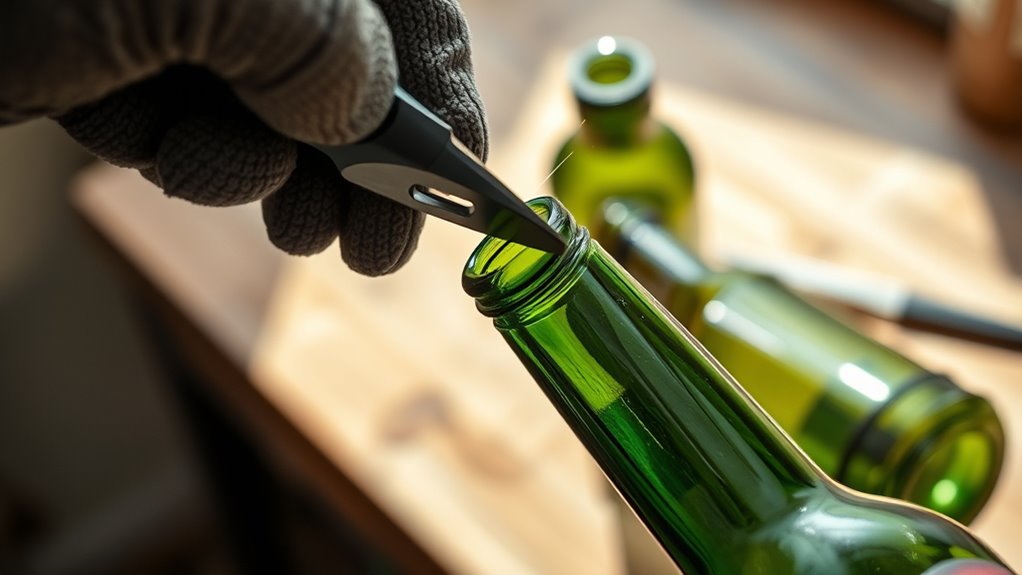
Cutting the bottles safely and precisely is essential to guarantee your DIY lanterns turn out both beautiful and secure. Start by following safety precautions like wearing gloves and eye protection to avoid cuts or glass shards. Use a steady hand and mark your cutting line clearly with a waterproof marker. When applying cutting techniques, score the bottle gently with a glass cutter or a heated string for a clean break. To make a smooth edge, gently sand the cut area with fine-grit sandpaper. Keep your workspace stable and work slowly to prevent slips. Remember, patience is key—rushing can lead to accidents or uneven cuts. Properly preparing your workspace and understanding safety precautions can help ensure safety during your project. Additionally, practicing on scrap bottles first can help you achieve more accurate cuts. Using a glass cutting tool designed for bottles can also improve your accuracy and ease of cutting. With careful attention to safety precautions and proper cutting techniques, you’ll create flawless openings for your upcycled wine bottle lanterns.
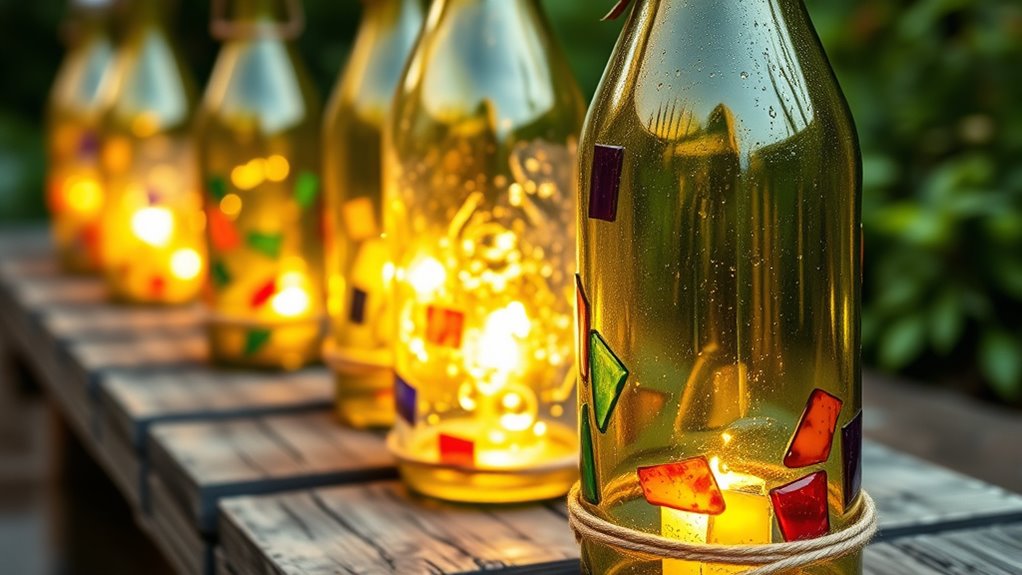
Adding Decorative Elements to Customize
Now that your bottles are ready, it’s time to personalize them. You can use paint to add colors or patterns that match your style. Additionally, attaching decorative accessories like charms or ribbons can make each lantern truly unique. To enhance visual appeal, consider incorporating dye techniques such as ombré or marbling to create interesting effects. Incorporating pop culture influences can also make your lanterns reflect current trends and themes. For a more authentic farmhouse touch, you might consider adding vintage decor elements that echo rustic charm.
Personalize With Paint
Adding decorative elements with paint allows you to truly personalize your upcycled wine bottle lanterns. You can create unique designs by experimenting with various paint techniques, such as color blending or layering. These methods add depth and visual interest, making each lantern one-of-a-kind. To enhance your project, consider these ideas:
- Use stencils for intricate patterns
- Create ombré effects with color blending
- Apply metallic or glow-in-the-dark paints
- Add hand-painted motifs or quotes
- Incorporate textured paint for a tactile finish
- Explore creative techniques to further elevate your designs and achieve professional-looking results. Understanding upcycling principles can help you select the best paint types and finishes for your project, ensuring durability and aesthetic appeal. Additionally, experimenting with different decorative methods can inspire more personalized and innovative designs.
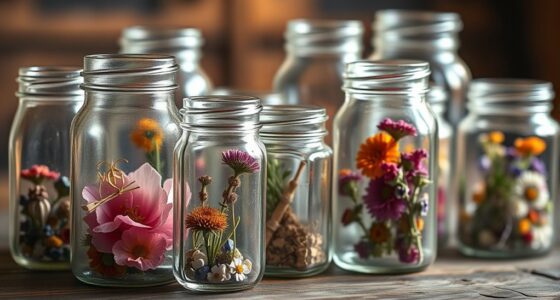
Add Decorative Accessories
To truly customize your wine bottle lanterns, incorporating decorative accessories can make a striking difference. Floral accents, like tiny artificial flowers or greenery, add a fresh, charming touch that complements your overall design. Beaded embellishments, such as strings of pearls or colorful beads, create visual interest and a touch of elegance. Attach these accessories with hot glue or wire, ensuring they stay securely in place. Mix and match different floral accents and beaded embellishments to reflect your personal style or theme. These decorative elements not only enhance the aesthetic appeal but also give your lanterns a unique, handcrafted feel. Take your time arranging them to achieve a balanced look that highlights your creativity and attention to detail. Incorporating decorative accessories can also help you achieve a cohesive look that matches your home’s existing decor. Additionally, considering upcycled materials can further elevate the sustainability and originality of your project.
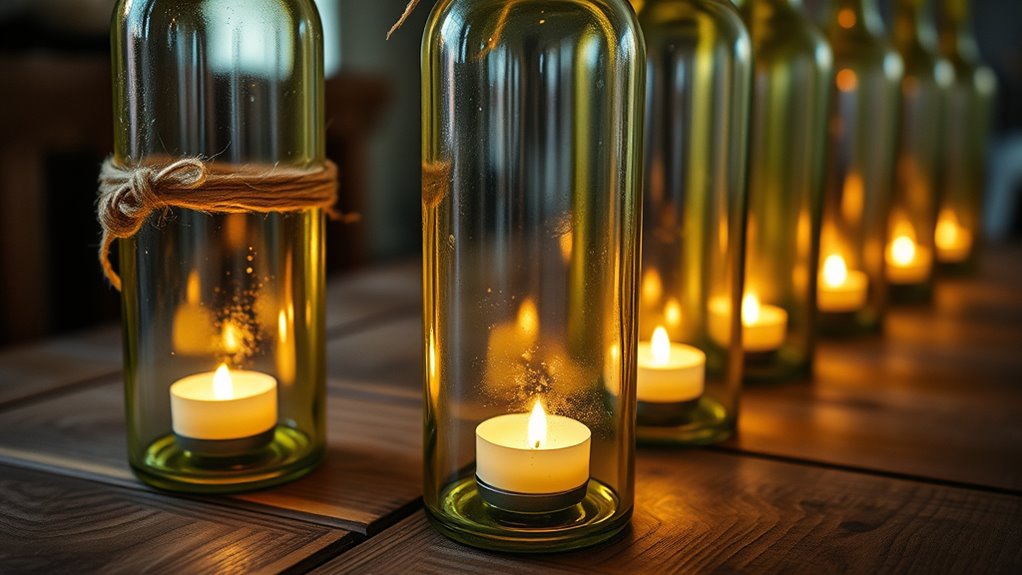
Installing Lighting Inside the Bottles
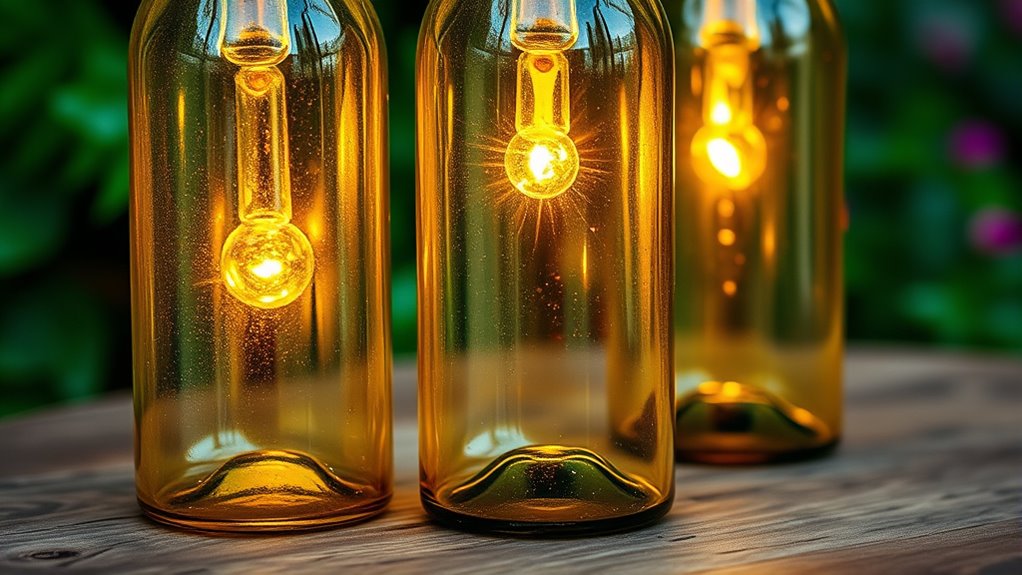
Installing lighting inside your upcycled wine bottles is a straightforward process that transforms them into beautiful lanterns. First, choose a suitable LED strip that fits the bottle’s shape and length. Connect the strip to a compact battery pack for portability. Carefully feed the LED strip through the bottle opening, ensuring even distribution of light. Secure the strip in place with adhesive if needed, avoiding overlaps. Make certain the battery pack is accessible for easy on/off control. Test the lighting before sealing the bottle. Here are some tips to consider:
- Use waterproof LED strips for outdoor durability
- Trim the LED strip to fit your bottle’s size
- Hide the battery pack behind the bottle or inside a decorative holder
- Ensure the wiring doesn’t interfere with the seal
- Double-check connections for safety and functionality
Creating a Stable Base or Hanging Mechanism
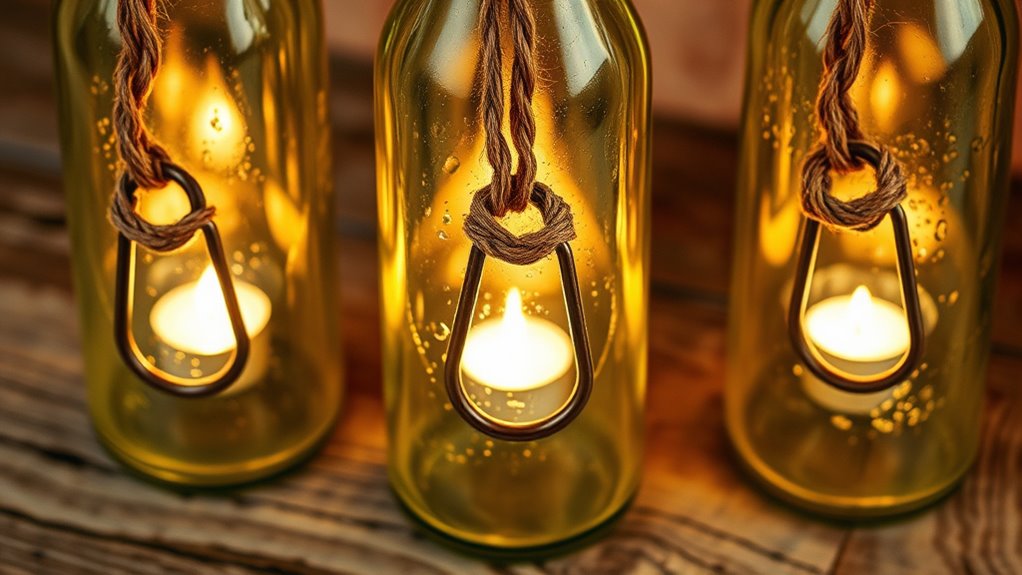
To keep your lantern steady, you’ll need to secure the bottle firmly in place. Reinforcing the hang points guarantees your lantern hangs safely without shifting or falling. Designing a stable base or reliable hanging mechanism is essential for both safety and aesthetics.
Secure Bottle Placement
Ensuring your wine bottle lantern stays secure is essential for safety and stability. You want it to withstand wind or accidental bumps without tipping over. To achieve this, consider the following:
- Use a cork sealing to create a tight, waterproof fit when inserting a hanging hook or wire.
- Remove or carefully peel off bottle labeling to prevent slipping and improve grip.
- Attach a sturdy hook or wire securely around the neck or base of the bottle.
- If using a base, ensure it’s heavy enough or add weight to prevent tipping.
- When hanging, choose a stable spot and test the balance before leaving it unattended.
These tips help you create a reliable, safe lantern while maintaining a clean aesthetic. Proper secure placement ensures your upcycled lantern remains a beautiful, functional addition to your space.
Reinforce Hang Points
Reinforcing the hang points on your wine bottle lantern helps it stay stable and safe whether hanging or sitting on a surface. Proper hanger reinforcement ensures even weight distribution, preventing tilting or slipping. To visualize, imagine this setup:
| Bottle Neck | Reinforced Hook | Secure Cord |
|---|---|---|
| Centered | Metal Loop | Balanced line |
| Reinforced | Strong Adhesive | Even weight |
| Side View | Wrapping Wire | Stable grip |
| Bottom Tip | Reinforced Loop | Consistent load |
This setup distributes the weight evenly, reducing stress on the glass. Use sturdy materials like wire or reinforced hooks, and double knot or tighten connections. Proper reinforcement keeps your lantern secure, reducing the risk of accidents or damage.
Stable Base Design
A well-designed stable base is essential for keeping your wine bottle lantern upright and balanced, whether it’s hanging or resting on a surface. To achieve this, focus on creating weighted stability and solid surface support. You can add a layer of gravel or small stones inside the bottle’s base to improve balance. Using a sturdy, flat bottom or attaching a wide, flat disc at the base enhances stability. Consider attaching hooks or loops to the top for hanging options. Additionally, using non-slip pads underneath the bottle prevents slipping. For hanging lanterns, ensure your hook can handle the weight securely. These simple adjustments ensure your lantern remains stable and safe, whether displayed on a table or suspended from above.
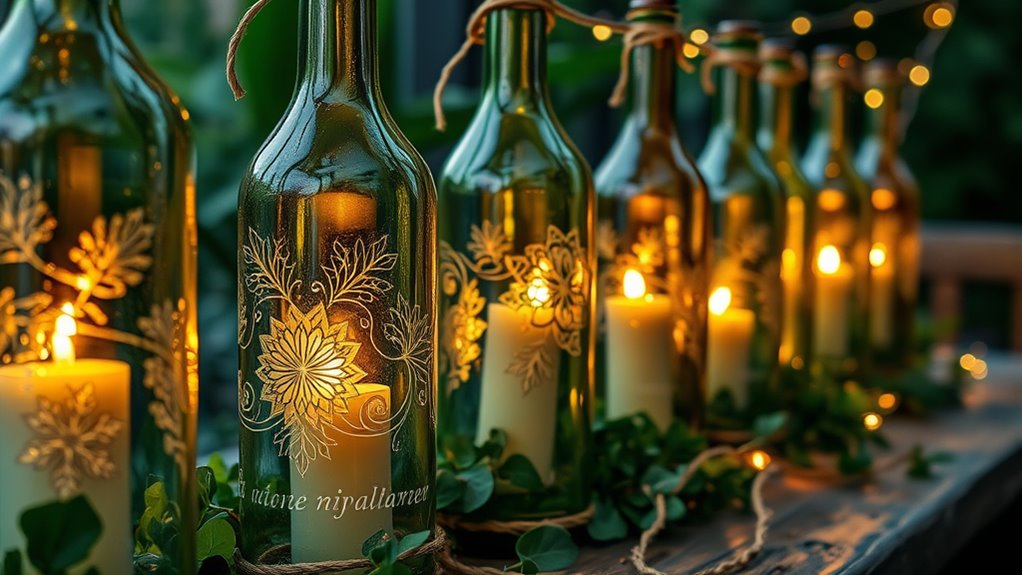
Arranging and Displaying Your Lanterns
Once you’ve crafted your upcycled wine bottle lanterns, the key to creating a mesmerizing display is thoughtful arrangement. Consider how lighting effects can enhance the ambiance—grouping lanterns at different heights or spacing them unevenly creates visual interest. Play with various arrangement styles, such as lining them along pathways, clustering them for a cozy glow, or hanging them from trees or ceiling hooks. Think about the mood you want to set; softer lighting works well for intimate gatherings, while brighter displays suit festive occasions. Use your space creatively, balancing the lanterns to avoid clutter. Remember, the goal is to highlight their beauty while ensuring the lighting creates a warm, inviting atmosphere that draws people in.
Tips for Maintaining and Extending Their Life
To keep your upcycled wine bottle lanterns looking their best and glowing brightly for longer, regular maintenance is essential. Proper storage helps prevent damage during off-season periods, protecting them from dust, moisture, and accidental breakage. Regular cleaning keeps the glass clear and removes dirt or soot buildup, ensuring ideal light diffusion. To extend their lifespan, consider the following tips:
- Store lanterns in a cool, dry place when not in use
- Clean the glass with a gentle, non-abrasive cleaner regularly
- Check and replace any burned-out or flickering bulbs promptly
- Avoid exposing them to extreme weather conditions
- Handle with care to prevent chips or cracks
Following these simple steps will keep your lanterns beautiful and functional for years to come.
Frequently Asked Questions
How Long Does It Typically Take to Complete a Wine Bottle Lantern?
When you’re wondering about the project timeline for a wine bottle lantern, it usually takes about 2 to 4 hours, depending on your skill level requirements. If you’re experienced, you’ll complete it faster, maybe within an hour or two. If you’re new, plan for extra time to carefully clean, cut, and assemble the pieces. Your skill level impacts how quickly you finish, but with patience, you’ll enjoy the process and a beautiful result.
Can I Use LED Candles Instead of Real Flames?
Yes, you can definitely use LED candles instead of real flames. LED candles provide flameless lighting, making your wine bottle lantern safer and more convenient. They emit a warm glow similar to real flames, creating a cozy atmosphere without the fire risk. Plus, LED candles are reusable and require less maintenance, so you can enjoy your lanterns longer and with peace of mind.
Are There Eco-Friendly Materials for Sealing or Finishing?
Sure, because covering your beautiful bottle lantern with non-eco-friendly finishes would be so last century. You can choose biodegradable sealants and eco-friendly finishes that protect your creation without harming the planet. These materials work just as well as traditional options but break down naturally over time. So, go ahead—seal and finish your lanterns guilt-free, knowing you’re helping the environment while still making something stunning and sustainable.
How Weather-Resistant Are Upcycled Wine Bottle Lanterns?
You wonder how weather-resistant these lanterns are. Well, with proper sealing and finishing, you can improve their UV resistance, preventing sun damage. To enhance wind durability, choose sturdy bases and securely fasten parts. While they stand up well outdoors, they’re best protected from extreme weather. Regular maintenance and using weather-resistant finishes help them last longer, ensuring your lanterns stay beautiful and functional in various outdoor conditions.
Can This Project Be Adapted for Outdoor or Garden Use?
You can definitely adapt this project for outdoor or garden use. Focus on improving garden durability by choosing weatherproofing tips, like sealing the bottles with outdoor-safe sealant and using rust-resistant hardware. Make certain to select sturdy placement spots, protect the lanterns from heavy rain, and consider adding a layer of waterproof coating. These steps ensure your lanterns stay bright and beautiful, even amid changing weather conditions.
Conclusion
Your upcycled wine bottle lanterns are now like glowing beacons guiding your creativity through the night. Each one, a star in your personal constellation, transforms ordinary bottles into shimmering tales of sustainability and artistry. As you light them up, remember you’re weaving a tapestry of innovation and care—proof that even the simplest objects can become luminous symbols of your unique style. Let your lanterns inspire, illuminate, and remind you of the beauty in repurposing.