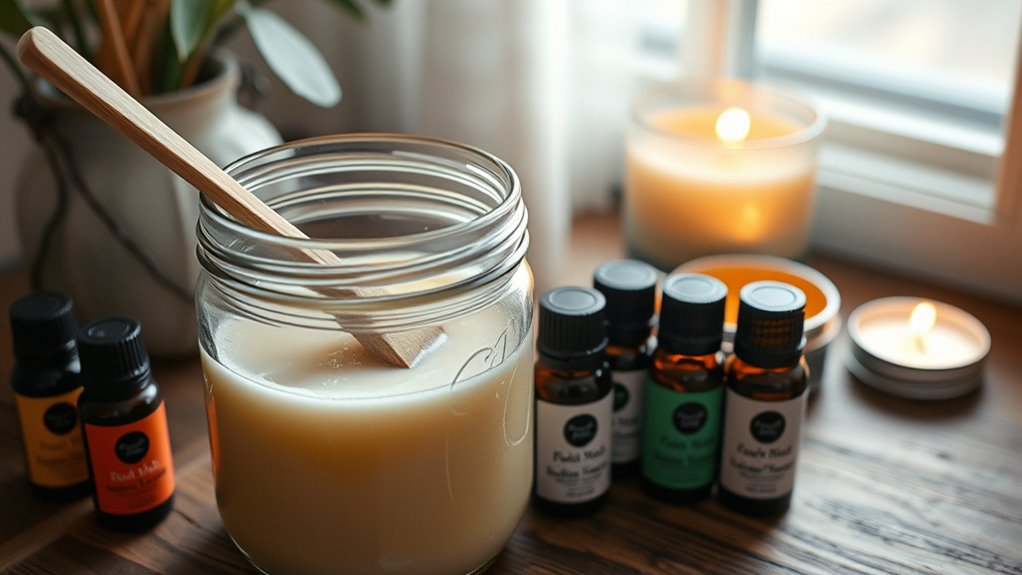
To make scented candles as a beginner, gather quality wax like soy or beeswax, wicks suitable for your container, and fragrance oils. Melt the wax carefully using a double boiler, then add your chosen scents and colors. Pour the wax into containers, keep the wicks centered, and let them cool undisturbed. With proper technique, your candles will look and smell wonderful—keep going, and you’ll discover even more tips to perfect your craft.
Key Takeaways
- Choose suitable wax types like soy or beeswax for easier handling and better scent throw.
- Use a double boiler and monitor temperature around 170-185°F for safe melting.
- Add fragrance oils gradually, testing blends to achieve desired scent intensity.
- Select the right wick size and secure it properly for an even, clean burn.
- Pour wax at the correct temperature into prepared containers, then let candles cool undisturbed.
Gathering Your Supplies and Ingredients

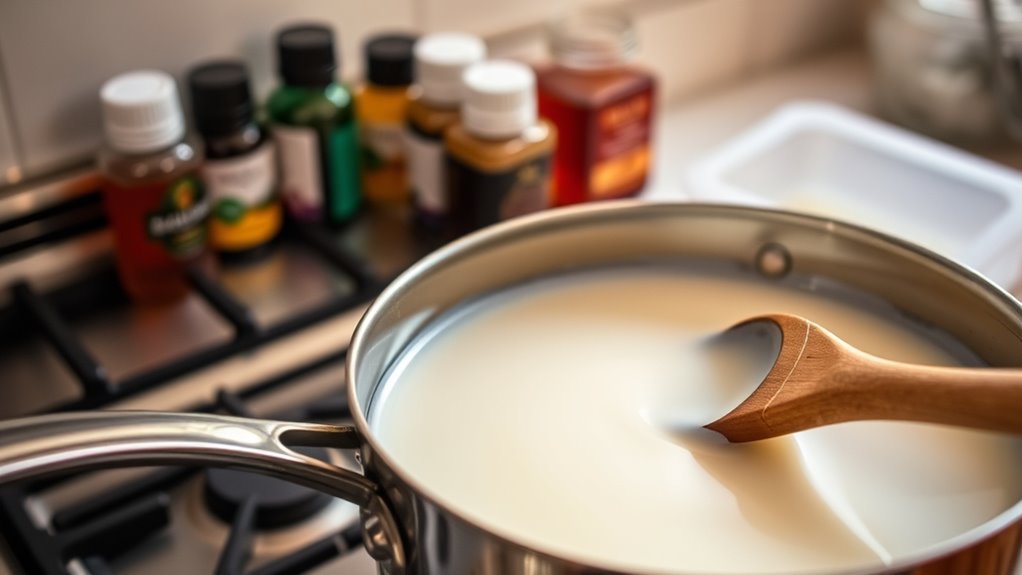
Before you begin making your scented candles, you need to gather all the necessary supplies and ingredients. Start with candle fragrance to add your preferred scent, ensuring it’s compatible with your wax. Next, choose your wax, which will undergo wax melting during the process. You’ll need a double boiler or melting pot to safely melt the wax evenly. Have your wicks ready, along with containers or molds for pouring the melted wax. Don’t forget a thermometer to monitor the temperature during wax melting, as different waxes require specific temperatures for ideal results. Additionally, gather stirring utensils, a pouring pitcher, and protective gloves. Having everything prepared beforehand makes the process smoother and helps you create beautifully scented candles with ease.
Choosing the Perfect Candle Wax
Choosing the right candle wax is essential for creating a quality candle. You’ll want to contemplate different wax types and their qualities, as well as how they melt and handle during pouring. Additionally, make sure the wax you pick is compatible with your desired scents for a smooth, fragrant burn. For optimal results, consider color accuracy to ensure the final candle appearance matches your expectations. Understanding the industry trends can also help you select the most popular and effective wax options for your projects. Incorporating knowledge of AI-powered virtual reality in e-learning can inspire innovative techniques for visualizing your candle designs before making them. Recognizing the importance of personal growth principles, such as positive thinking, can also enhance your creative process by fostering resilience and confidence in your crafting journey.
Wax Types and Qualities
Selecting the right candle wax is essential for achieving the desired appearance and scent throw in your DIY candles. Your choice affects burn quality, scent diffusion, and overall look. Paraffin wax offers a glossy finish and strong scent throw, making it popular for vibrant candles. Soy wax, on the other hand, is natural, burns cleaner, and has a softer appearance. Consider the following differences:
| Wax Type | Qualities |
|---|---|
| Paraffin | Bright finish, excellent scent throw, easy to work with |
| Soy | Eco-friendly, clean burn, softer texture |
| Beeswax | Natural aroma, slow burn |
| Coconut | Smooth finish, good scent throw |
| Palm | Harder, long-lasting |
Choose based on your aesthetic and environmental preferences for the perfect candle. Additionally, understanding candle wax characteristics can help you select the ideal wax for your specific project.
Melting and Handling Tips
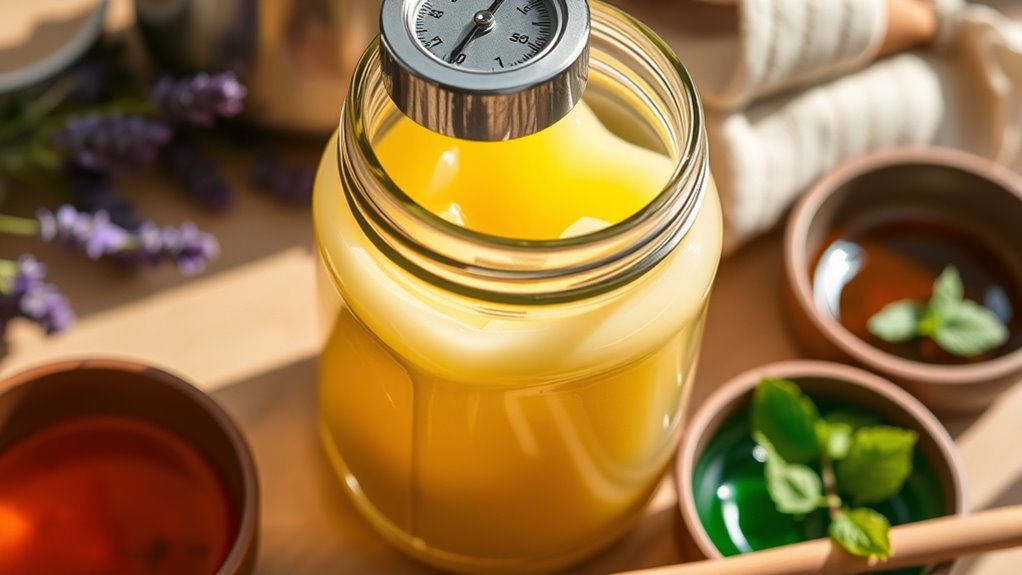
To guarantee your candle-making process goes smoothly, mastering proper melting and handling techniques is vital. Start by maintaining temperature control; heat the wax slowly and steadily to avoid overheating, which can cause uneven melting or discoloration. Use a thermometer to monitor the temperature closely. When pouring, ensure the wax reaches the recommended melting point for your chosen wax type. Proper wick placement is also essential—secure the wick in the center of the container before pouring, using a wick holder if needed. Keep the wick upright during cooling to ensure an even burn. Handling the wax carefully throughout the process prevents bubbles and imperfections, resulting in a cleaner, more professional-looking candle. Additionally, understanding types of candle wax can help you select the best material for your project, ensuring optimal results. Being aware of automation in business can also inspire you to streamline your candle-making process for more efficiency. Using temperature control tools like digital thermometers can greatly improve your accuracy and consistency. These tips help you achieve consistent, high-quality candles, and paying attention to details like proper storage can extend the shelf life of your wax and finished candles.
Scent Compatibility
Since the type of wax you use directly affects how well your scented candle emits fragrance, it’s crucial to take into account scent compatibility when selecting your wax. The right wax enhances essential oils and supports scent layering, creating a balanced aroma. To choose the best wax:
- Opt for soy wax if you want a clean scent throw suitable for layered scents and essential oils.
- Use paraffin wax for stronger scent diffusion, ideal for bold fragrances.
- Consider beeswax if you prefer a natural base, though it may have a subtler scent.
Selecting and Preparing Your Wicks
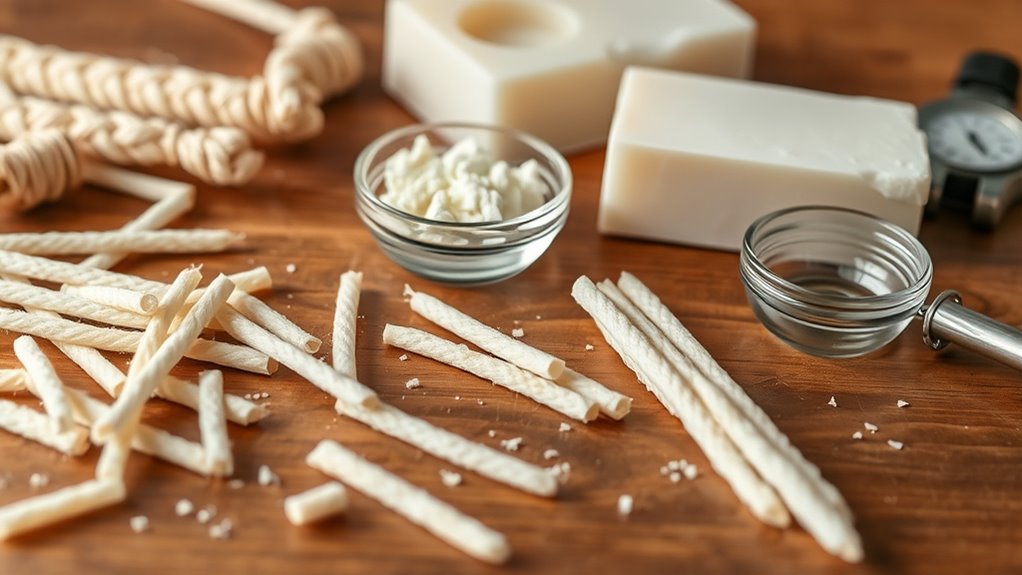
Choosing the right wick is essential for guaranteeing your candle burns evenly and safely. Start with proper wick selection by considering your candle size and wax type. A wick that’s too small may cause tunneling, while one that’s too large could create excessive flame and soot. Once you’ve chosen the appropriate wick, focus on wick preparation. Cut the wick to the correct length, typically leaving about ½ inch above the wax surface. If using a metal or paper core wick, ensure it’s secured properly in the wick tab or adhesive. Pre-wetting the wick with wax or dipping it in hot wax helps it stay centered and upright. Proper wick selection and preparation are key steps for a successful, safe candle-making experience. Additionally, understanding the mind-body connection can help you stay present and mindful during your craft, enhancing your overall creative process. Properly preparing your wick can also contribute to a more enjoyable and relaxing candle-making session, aligning with the importance of self-care in creative activities. Incorporating proper wick size considerations based on your candle’s dimensions and wax type can optimize burn quality and safety.
Melting the Wax Safely and Effectively
To melt your wax safely and effectively, you need to choose the right type for your project. Using proper techniques, like a double boiler, helps prevent accidents and guarantees even melting. Always stay attentive and avoid high heat to keep your workspace safe. Additionally, understanding the properties of different waxes, such as melting points, ensures optimal results and safety during the process. Being aware of essential oils for candle making can also enhance your finished product with soothing or invigorating aromas. Using a thermometer to monitor temperature can further help maintain safe and precise melting conditions, leading to better-quality candles. Paying attention to sound healing science principles can inspire calming ambiance in your space, much like the soothing effects of a well-crafted candle. For more precise control, consider Kia Tuning techniques that optimize performance, which can be analogous to fine-tuning your candle creation process for perfect results.
Choosing the Right Wax
Selecting the right wax is essential for creating a clean-burning, long-lasting candle. Your choice affects wax consistency and scent absorption, shaping your candle’s overall quality. To help you decide, consider these points:
- Type of wax: Soy, beeswax, or paraffin each has unique melting points and wax consistency, influencing how easily you melt and pour.
- Scent absorption: Some waxes absorb fragrances better, resulting in more vibrant scents. Choose a wax compatible with your preferred scent oils.
- Finish and appearance: Different waxes produce various textures and finishes, from matte to glossy. Pick one that matches your aesthetic goals.
Safe Melting Techniques
Ensuring safe and effective melting of your wax is essential to prevent accidents and achieve the best results. Use a double boiler setup, keeping the heat low to avoid overheating. Beeswax benefits include its natural scent and durability, but it melts at a higher temperature, requiring careful attention. Be cautious with soy wax drawbacks, as it can scorch easily if melted too rapidly or at too high a temperature. Always monitor the melting process, stirring gently to promote even heating. Never leave melting wax unattended, and use heat-resistant tools. Temperatures should stay within recommended ranges—usually around 170-185°F. Following these techniques keeps you safe and guarantees your wax melts smoothly, setting a solid foundation for your candle-making project. Additionally, understanding the importance of self-expression in creative pursuits can enhance your personal satisfaction and artistic growth.
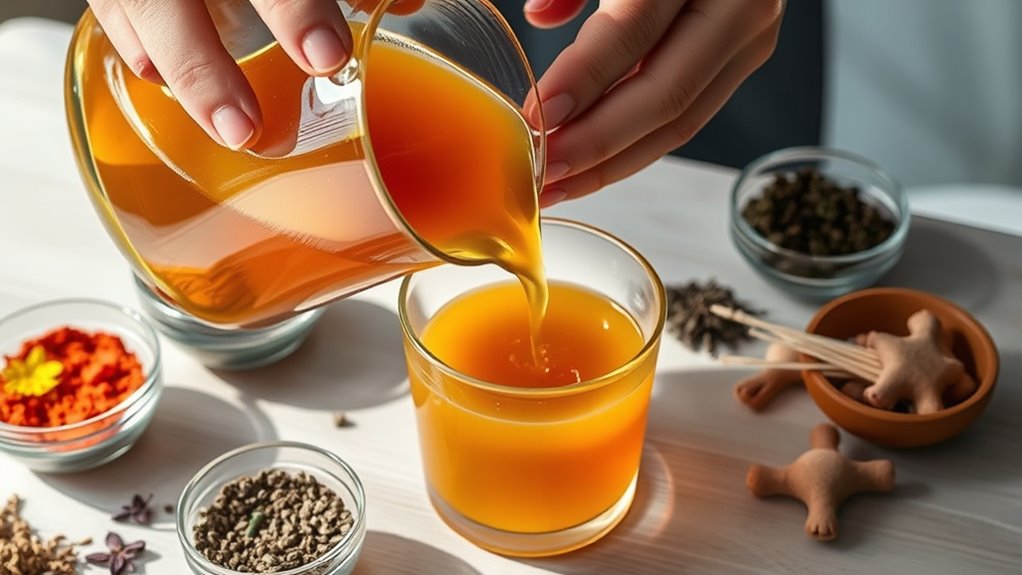
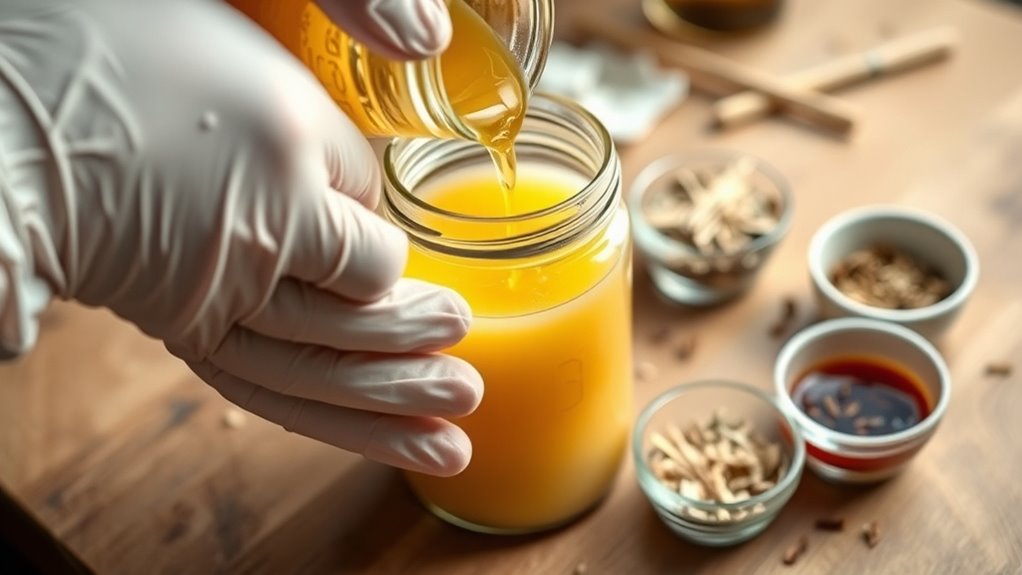
Adding Fragrance Oils for a Personalized Scent
Adding fragrance oils is the key step in customizing your candle’s scent and making it uniquely yours. To create a memorable aroma, consider these tips:
- Experiment with essential oil blends to craft your signature scent, combining floral, citrus, or woody notes.
- Guarantee fragrance compatibility by choosing oils that blend well together without overpowering or clashing.
- Add fragrance oils gradually, usually around 1 ounce per pound of wax, testing small amounts first to achieve your desired strength.
- Refer to paint sprayer specifications to ensure the oils you select are compatible with your candle-making process, especially when considering additives that might affect the wax’s melting point or finish.
- Understanding native cultural influences can inspire unique scent combinations that pay homage to traditional practices and regional aromas.
- Be mindful of candle safety guidelines when adding fragrance oils to prevent issues like excessive smoking or improper burning.
- Incorporating knowledge of aura colors and their associated scents can also help in selecting fragrances that align with your desired emotional or spiritual effects.
Coloring Your Candles for Visual Appeal

Coloring your candles enhances their visual appeal and allows you to express your personal style. To achieve beautiful effects, experiment with color mixing to create custom shades that match your decor or mood. Use small amounts of candle dye, adding gradually until you reach your desired hue. For a striking look, try visual layering by pouring different colored waxes in stages, letting each layer set slightly before adding the next. This technique creates depth and complexity, making your candles stand out. Be mindful of how the colors interact, and don’t be afraid to blend shades for unique results. Proper color application not only makes your candles more attractive but also adds a personalized touch that reflects your creative vision. Additionally, understanding how to incorporate candle dye effectively can help you achieve more consistent and vibrant colors in your creations.
Pouring the Wax Into Molds or Containers
Once you’ve achieved the perfect color and layered your candles for visual interest, it’s time to transfer the wax into molds or containers. Your mold selection should match the shape and size you want, making sure it’s heat-resistant and clean. Before pouring, prepare your containers by cleaning them thoroughly and securing the wick in the center. Here are three tips to keep in mind:
- Pour slowly and steadily to avoid air bubbles.
- Leave a small gap at the top to prevent overflow.
- Use a thermometer to keep the wax at the ideal pouring temperature.
Taking these steps ensures your candles have a smooth finish and proper form, making your DIY project look professional and polished.
Allowing Your Candles to Set and Cure
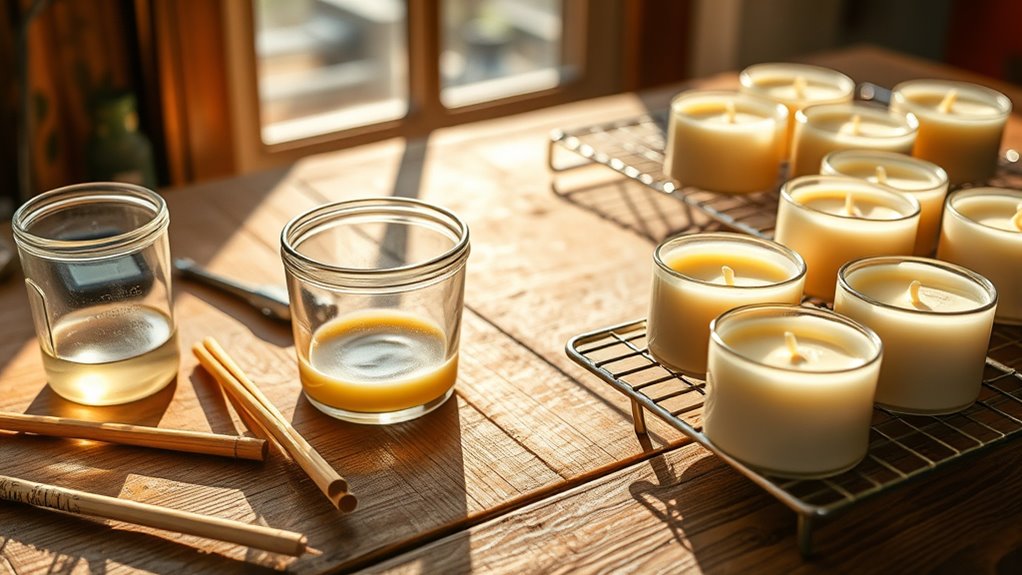
After pouring your candles, it’s essential to let them set undisturbed so they can harden fully and develop a proper finish. Use cooling techniques like placing them in a draft-free area at room temperature, avoiding sudden temperature changes that can cause cracking. This process typically takes several hours to overnight, depending on the size of your candles. Once hardened, follow storage tips by keeping your candles in a cool, dark place to preserve the scent and prevent discoloration. Proper curing time—usually at least 24 to 48 hours—ensures ideal scent throw and candle performance. Resist the urge to move or touch the candles during this period, as disturbance can affect the surface finish and overall quality of your homemade candles.
Trimming the Wicks and Final Touches
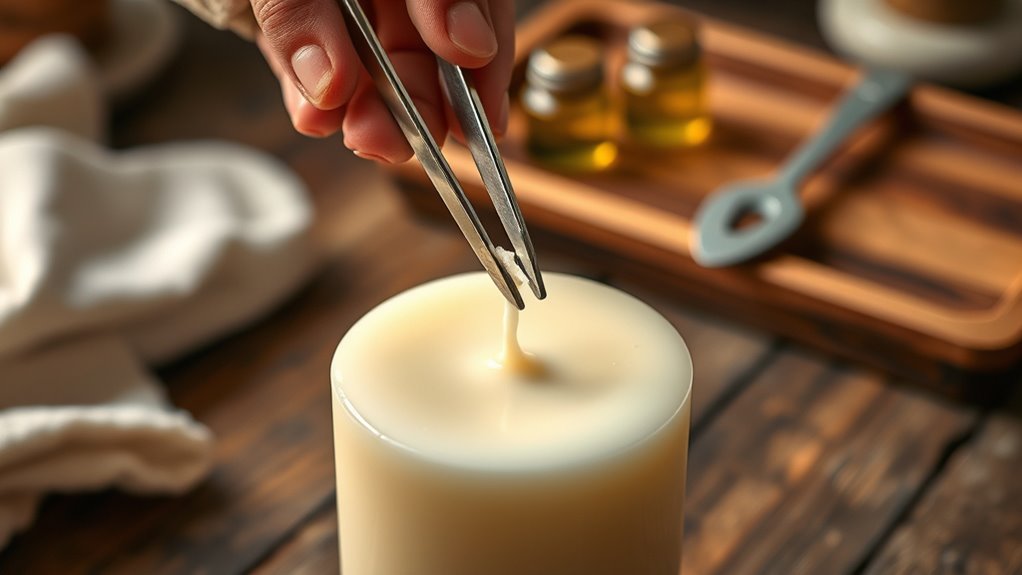
To guarantee your candle burns evenly and safely, it’s important to trim the wick to about ¼ inch before lighting it for the first time. Proper wick trimming ensures a clean, steady flame and minimizes soot. For the finishing touches, follow these steps:
- Trim the wick regularly to prevent flickering and soot buildup.
- Smooth the candle’s surface with a heat gun or by gently reheating, creating an even appearance.
- Add decorative accents like labels or ribbons to personalize your candle.
These final touches enhance the candle’s aesthetic and safety. Remember, consistent wick trimming is key to a safe, long-lasting burn, and the finishing touches give your homemade candle a professional look.
Tips for Troubleshooting Common Candle-Making Issues
When your candles don’t turn out perfectly, it’s helpful to know how to fix common problems. You might need to address issues like wax tunneling, sinkholes, or weak fragrance throw. Here are some practical tips to help you troubleshoot these common candle-making challenges.
Fixing Wax Tunneling
Wax tunneling occurs when your candle burns down the center, leaving a ring of unmelted wax around the edges. To fix this, you need to address wax temperature and wick placement. First, verify you’re heating the wax to the right temperature—too hot or too cold can cause tunneling. Second, check your wick placement; a wick that’s too small or not centered can lead to uneven burning. Third, when relighting, let the candle burn long enough to create a full melt pool, reaching the edges. This helps establish an even burn and prevents tunneling from forming again. Adjusting these factors will promote a more uniform burn, extending your candle’s life and enhancing its scent throw. Proper wick placement and temperature control are key to troubleshooting this common issue.
Preventing Sinkholes
Sinkholes in candles happen when the surface melts unevenly, creating depressions or holes that can compromise the candle’s appearance and burn quality. To prevent this, guarantee proper wick selection; a wick that’s too small won’t melt the wax evenly, while a wick that’s too large can cause rapid burning and sinkholes. Always choose a wick appropriate for your candle’s size and wax type. Maintain candle safety by avoiding overheating the wax, as excessive heat can cause uneven melting and sinkholes. Pour wax at the right temperature and allow the candle to cool gradually to promote a smooth surface. Stirring the wax gently and avoiding drafts during setting also help guarantee an even melt, reducing the risk of sinkholes and ensuring a clean, professional look.
Managing Fragrance Throw
Are you struggling to achieve a strong, lasting fragrance in your candles? If so, managing fragrance throw can be tricky. To improve scent dispersal and boost fragrance strength, try these tips:
- Use the right fragrance load—around 6-10% of your wax weight—so your candle isn’t under- or overloaded.
- Choose high-quality, well-suited fragrance oils that blend easily with your wax type for better scent throw.
- Ensure your candle cures for at least 48 hours; this allows the fragrance to fully meld with the wax, enhancing scent dispersal.
Adjusting these factors can markedly improve your candle’s fragrance strength and ensure a consistent, enjoyable scent experience.
Frequently Asked Questions
How Do I Choose the Best Fragrance Oils for My Candles?
When choosing fragrance oils, you want to take into account your preferred scent profile and the scent strength adjustment needed. Look for fragrance oil blends that complement each other and suit your mood or theme. Test small amounts first to gauge how strong the scent will be once burned, and adjust accordingly. Always select high-quality oils designed for candle making to ensure a clean burn and long-lasting fragrance.
Can I Use Recycled Containers as Candle Molds Safely?
Imagine your favorite mug transforming into a cozy candle holder—that’s the charm of using recycled containers. You can use recycled containers as candle molds safely if you guarantee they’re heat-resistant and clean. Avoid containers with plastic or decorative foils. Always check for stability and proper size, and never leave burning candles unattended. With careful prep, your recycled containers become charming, eco-friendly candle molds that add personality and safety to your candle making.
What Safety Precautions Should I Take During Candle Making?
When focusing on candle safety, you should always handle wax with care, maintaining a safe workspace. Keep a fire extinguisher nearby, and never leave melting wax unattended. Use heat-resistant containers and avoid overfilling molds. Follow wax handling precautions, like avoiding water contact to prevent splattering. Ventilate your area well, and keep flammable materials away. These steps help you create candles safely while minimizing fire risks and accidents.
How Long Do Homemade Candles Typically Last?
Homemade candles generally last about 1 to 2 years, depending on ingredients and storage. To maximize candle shelf life, store them in a cool, dark place away from direct sunlight and drafts. Make certain the lids are tightly sealed to prevent dust and moisture buildup. Proper storage tips, like keeping candles upright and away from temperature fluctuations, help preserve scent and quality, so you enjoy your creations longer.
Are There Eco-Friendly Options for Candle Wax and Dyes?
Imagine a candle that glows with a gentle, earth-loving warmth. You can choose biodegradable wax like soy or beeswax, which break down naturally, and enhance your creation with natural dye options derived from plants and minerals. These eco-friendly choices not only brighten your space but also nurture the planet, making your candle a symbol of sustainability and beauty. Embrace these greener options for a more conscious craft.
Conclusion
Now that you’ve learned each step, you’re ready to craft beautiful, personalized candles. Pick your supplies, melt your wax, add your scent, and pour with confidence. Let your creativity flow as you set and trim your candles, turning simple ingredients into stunning decor. With patience and practice, you’ll perfect your craft and enjoy the warm glow of your homemade candles. Embrace the process, enjoy the aroma, and celebrate your success as a DIY candle maker.