
To craft DIY soap bars with natural ingredients, start by selecting pure oils like coconut, olive, or shea butter, and prepare botanical infusions or herbs. Mix your oils with lye carefully, then add essential oils and natural colorants gradually. Pour the mixture into molds, ensuring a steady pour to prevent bubbles. Let your soap cure for 4-6 weeks for best results. Keep exploring the steps to customize and perfect your handmade soap.
Key Takeaways
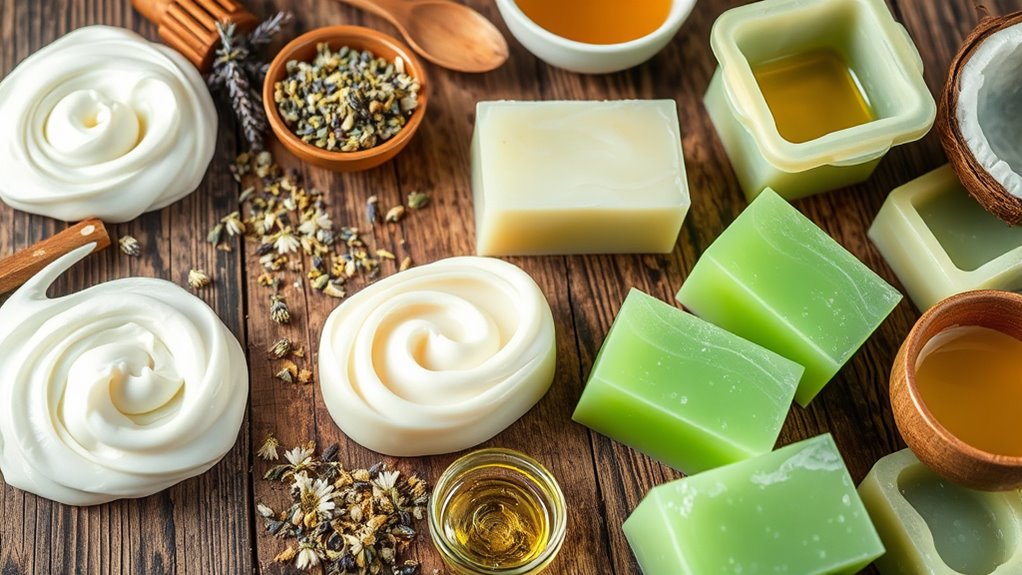
- Select pure, natural oils like coconut, olive, and shea butter for nourishing soap bases.
- Incorporate botanical infusions such as chamomile or lavender for added skin benefits and natural fragrance.
- Use essential oils and natural colorants carefully measured and mixed into melted oils before pouring.
- Pour the soap mixture into molds steadily, tapping out air bubbles, and allow curing for 4-6 weeks.
- Store finished soap bars in a cool, dry place using breathable containers to maintain freshness and quality.
Top picks for "craft soap bars"
Open Amazon search results for this keyword.
As an affiliate, we earn on qualifying purchases.
Gathering Your Natural Ingredients and Supplies
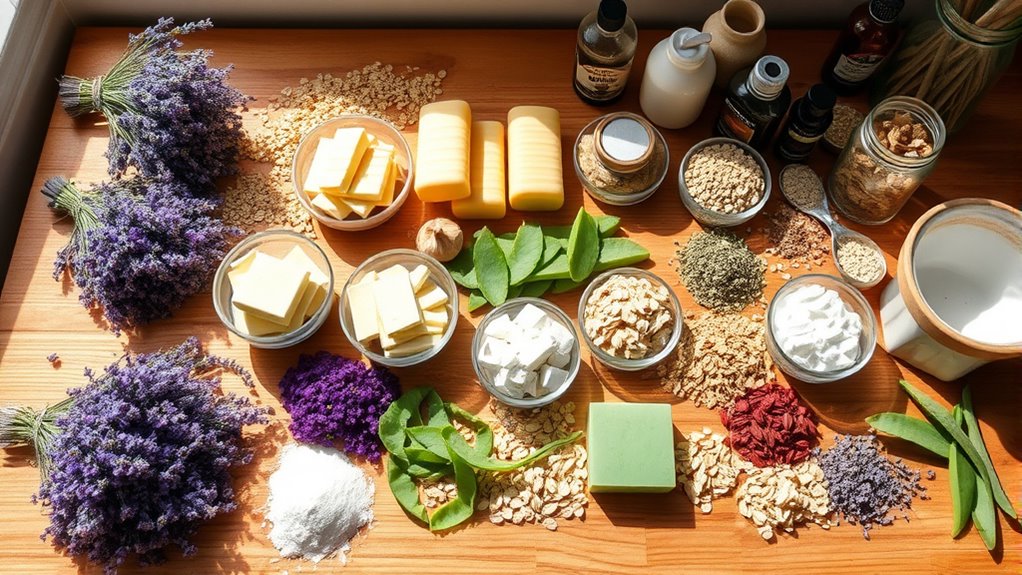
Before you begin making your own soap bars, sourcing high-quality natural ingredients and supplies is vital. Start by selecting pure oils like coconut, olive, or shea butter to create a nourishing base. Incorporate essential oil blends to add natural fragrance and therapeutic benefits—just a few drops can transform your soap. Botanical infusions, such as chamomile or lavender, can be prepared by steeping herbs in oils or water, enhancing your soap’s properties and appearance. Make certain all your ingredients are fresh and free of synthetic additives. Gathering these natural components early on helps you craft a gentle, skin-loving soap. Using user-friendly interfaces and community support features can also foster motivation and accountability throughout your DIY soap-making journey. Understanding sound healing science and how sound vibrations can influence health may inspire you to incorporate calming sounds into your soap-making environment, creating a more soothing experience. Having the right high-quality supplies on hand sets the foundation for a successful DIY soap-making experience.
Understanding the Basics of Soap Making
Have you ever wondered how soap transforms from simple ingredients into a smooth, solid bar? The key is understanding the soap-making process. First, you mix fats or oils with an alkali like lye, which causes a chemical reaction called saponification. Once poured into molds, the soap needs to cure—typically for 4 to 6 weeks—allowing excess moisture to evaporate and the soap to harden properly. During this time, soap becomes milder and longer-lasting. You can also experiment with ingredient substitutions, like swapping coconut oil for olive oil, to customize your soap’s texture and lather. Knowing these basics helps you troubleshoot, refine your recipe, and create high-quality, natural soap bars tailored to your preferences. Additionally, understanding soap tuning can help you optimize your soap’s performance and longevity. Exploring remote hackathons can also foster new ideas and techniques for improving your soap-making skills through virtual collaboration and innovation.
Selecting and Preparing Your Additives and Scents
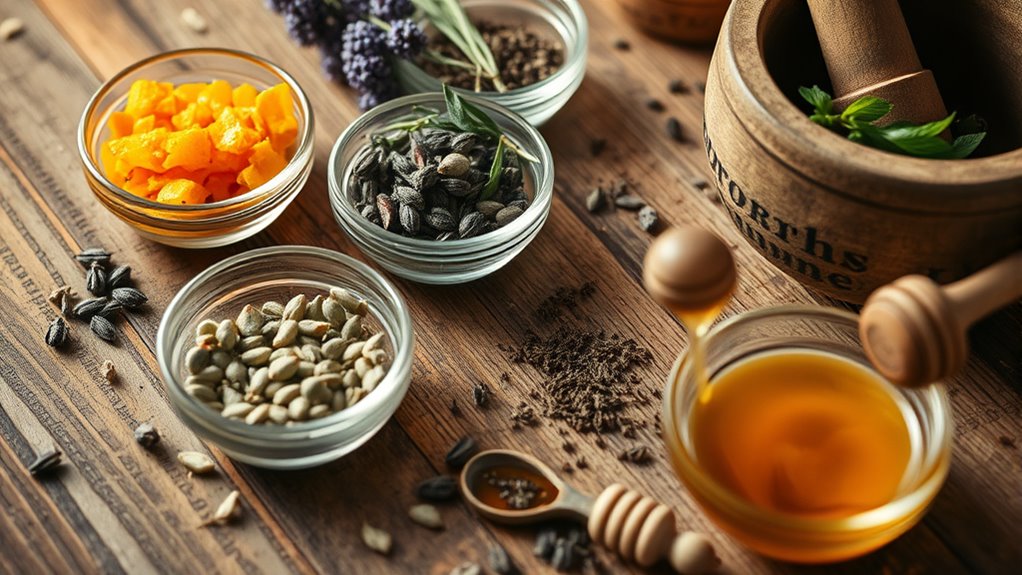
Choosing the right additives and scents can elevate your homemade soap from basic to beautifully customized. Start by selecting essential oils that match your desired aroma and skin benefits, like lavender for relaxation or tea tree for clarity. When preparing these oils, measure carefully to avoid overpowering scents or skin irritation. Dried herbs, such as chamomile or rosemary, add texture and visual interest; verify they’re thoroughly dried to prevent spoilage. Gently crush or chop herbs to release their natural fragrance and enhance infusion. Always test small quantities first to see how your skin reacts and to fine-tune your scent blend. Proper preparation ensures your soap is both appealing and safe, creating a personalized touch that elevates your craft. Understanding city dynamics can also help you choose additives that resonate with local trends and preferences, making your soap uniquely suited to your environment. Incorporating essential oils for aromatherapy in your blends can further enhance the sensory experience and therapeutic benefits of your soap. Additionally, considering low light office plants can inspire natural colorants or botanical infusions to add subtle hues and benefits to your soap.
Step-by-Step Guide to Melting and Combining Your Ingredients
To create smooth, well-blended soap bars, you’ll need to melt your oils carefully and evenly. Once melted, you can add your essential oils and other additives, mixing thoroughly to distribute the scents and textures. Proper techniques guarantee your ingredients combine seamlessly for the perfect soap consistency. For optimal results, consider using vetted ingredients known for their quality and safety to ensure your soap is both effective and nourishing. As with the financial impact of entertainment industries like WWE Raw, attention to detail and quality control are essential in crafting a successful product.
Melting Techniques for Oils
Wondering how to melt your oils smoothly and safely? The key is proper temperature control. Use a double boiler or microwave, heating oils gently until just melted. Avoid overheating to prevent compromising the oils’ quality and to maintain excellent conditions for oil saponification. Proper temperature management also helps preserve the nutritional properties of your ingredients, ensuring your soap remains gentle and nourishing. Maintaining the correct temperature can also prevent separation issues that compromise the final product.
Here’s a quick guide:
| Method | Best Practices |
|---|---|
| Double Boiler | Use low heat; stir constantly; monitor temperature |
| Microwave | Heat in short bursts; stir frequently; check temp |
Maintaining the right temperature ensures your oils melt evenly without losing beneficial properties. This prevents unwanted separation and ensures your soap’s consistency. Be attentive to heat levels to keep your oils in the ideal range for safe, effective saponification. Additionally, understanding the essential oils that can be safely incorporated at different stages can improve your soap-making process.
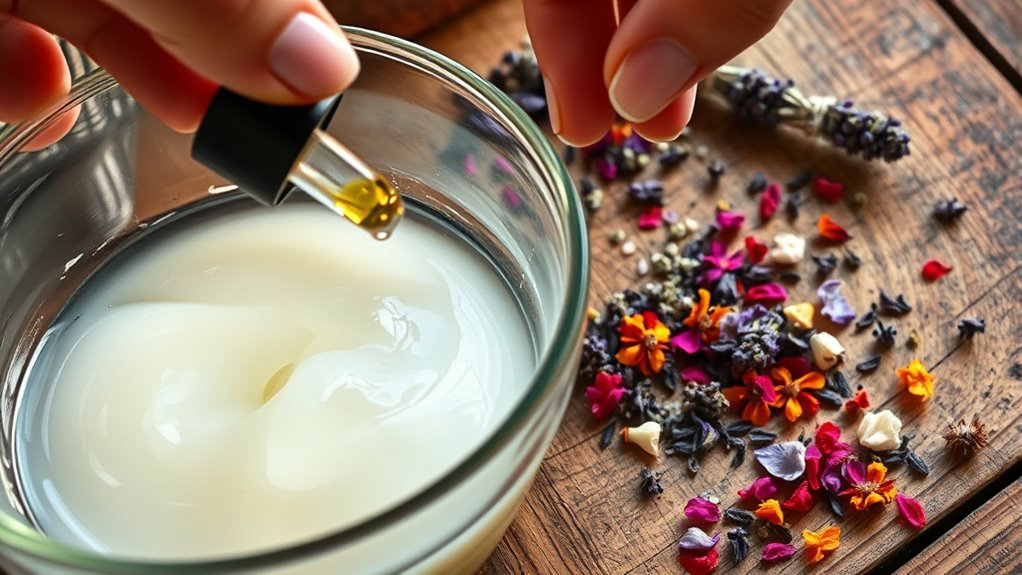
Combining Essential Additives
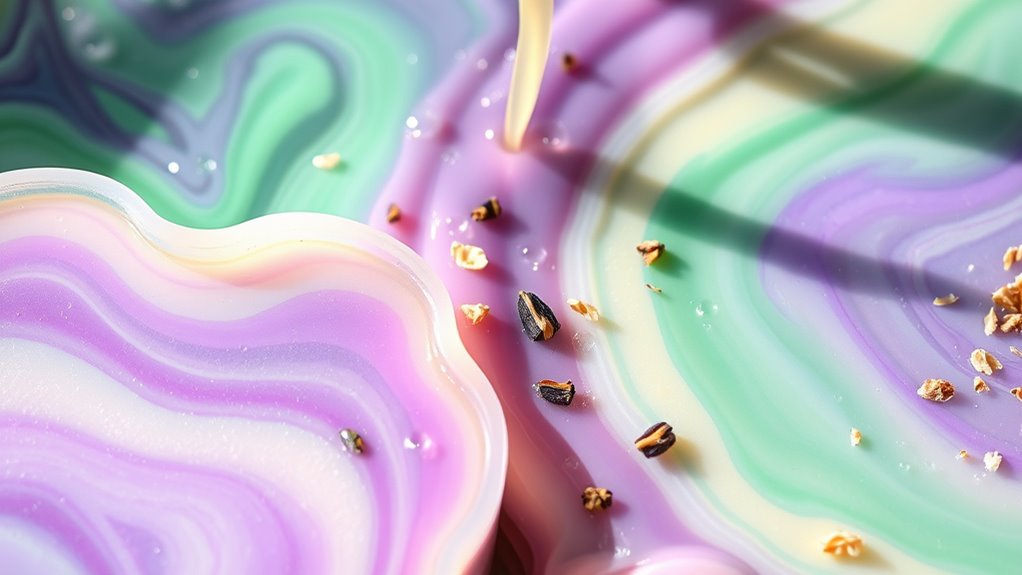
Have you ever wondered how to seamlessly incorporate essential additives into your soap? To do this, start by choosing your essential oil blends based on your desired scent and therapeutic properties. Gently warm your melted oils, then slowly add your essential oils, stirring well to ensure even distribution. When it comes to colorant options, select natural colorants like clays, spices, or botanical powders, and add them gradually to achieve your preferred hue. Mix thoroughly after each addition to prevent streaks. Remember, timing and gentle stirring are key to blending these additives evenly without introducing air bubbles. Once your essential oils and colorants are fully integrated, you’re ready to pour your mixture into molds, knowing your soap will have vibrant color and aromatic appeal. Incorporating natural colorants not only enhances visual appeal but also benefits your skin with additional nutrients and properties. Using sustainable ingredients ensures your homemade soap aligns with eco-friendly living principles and supports environmental health. Additionally, understanding cultural significance of certain ingredients can enrich your soap-making experience and connect you to traditional practices.
Proper Mixing Procedures
Before combining your ingredients, it’s essential to melt your fats and oils properly. Use a double boiler or microwave in short bursts to ensure even melting without overheating. Once melted, stir gently to achieve a smooth, uniform mixing consistency. This step is vital for proper blending, preventing separation or uneven texture in your soap. Use the right blending tools, such as silicone spatulas or heat-resistant spoons, to mix thoroughly. Continuously stir as you incorporate other ingredients, ensuring everything combines seamlessly. Keep an eye on the temperature, as overheating can affect the final product. Achieving the right consistency is crucial for a professional finish. Aim for a consistent, lump-free mixture that’s ready for pouring into molds. Proper mixing procedures help you craft soap bars with a smooth, professional finish. Monitoring your payment security measures during the process can also prevent potential issues with online transactions related to your supplies. Additionally, understanding divorce statistics and legal resources can provide valuable background if you’re seeking legal guidance for your business or personal matters.
Pouring and Setting Your Custom Soap Bars
When pouring your soap mixture, use steady, even motions to prevent air bubbles and guarantee a smooth surface. Make sure your workspace is at a stable temperature and free from drafts to help the soap set properly. To further improve your results, consider monitoring the setting conditions closely, as environmental factors can influence the curing process. By paying attention to pouring techniques and setting conditions, you’ll achieve clean, professional-looking soap bars. Additionally, maintaining proper hydration and nutrition levels can support your overall health during the soap-making process. Ensuring optimal exfoliation can also improve the final appearance and texture of your soap bars.
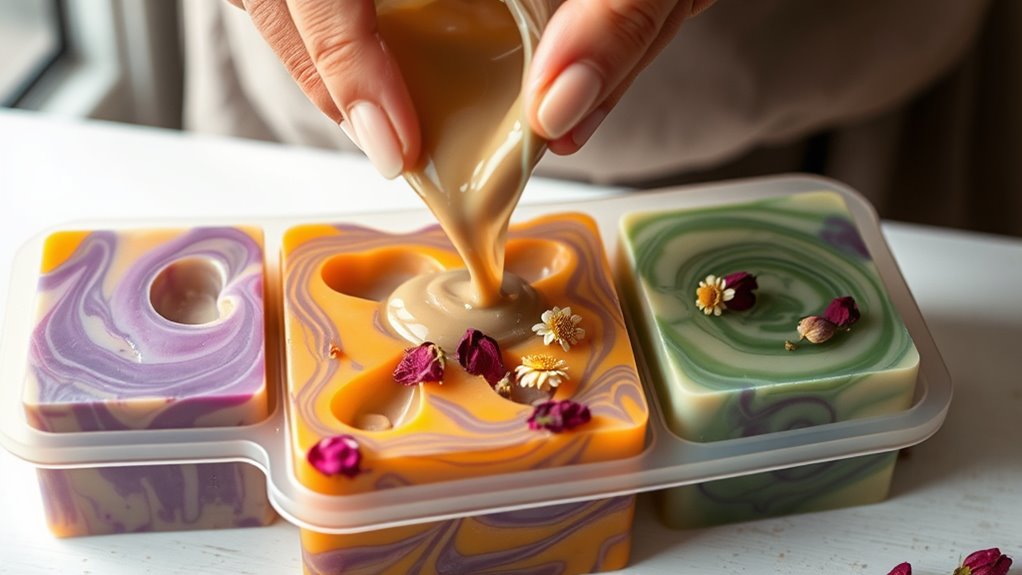
Proper Pouring Techniques
Ever wondered how to achieve smooth, professional-looking soap bars? The key lies in your pouring technique and how you fill your mold. To start, pour your soap mixture slowly and steadily, avoiding splashes or air bubbles. Use a steady hand to ensure even mold filling, which helps prevent uneven surfaces or cracks. If you notice bubbles forming, gently tap the mold or give it a light shake. Pour the mixture from a consistent height to maintain control and flow. Don’t overfill the mold—leave a little space for expansion during setting. A careful pouring technique guarantees your soap bars set evenly and look polished. Proper moisture levels during pouring and setting also contribute to a smoother finish. Additionally, understanding AI safety measures can help in developing safer DIY projects by ensuring your process remains secure and controlled. Mastering this step guarantees that your finished product will have a smooth, professional appearance every time. Maintaining consistent temperature control during pouring can further improve the quality of your soap bars.
Optimal Setting Conditions
Achieving the best results for your soap bars depends heavily on the conditions during pouring and setting. Temperature control is vital; guarantee the soap mixture is at the right temperature to prevent cracks or uneven textures. Too hot, and it may crack; too cold, and it may set improperly. Keep your workspace at a consistent temperature for uniform curing. Humidity levels also play a significant role—high humidity can cause surface imperfections or delay setting, while low humidity speeds up the process. Cover your molds lightly with plastic if needed, to regulate moisture. Avoid moving the soap during the initial setting phase. By maintaining ideal temperature control and stable humidity levels, you’ll guarantee your soap bars set perfectly, resulting in a smooth, professional finish. Additionally, understanding AI discoveries in related fields can inspire innovative techniques for optimizing your soap-making process.
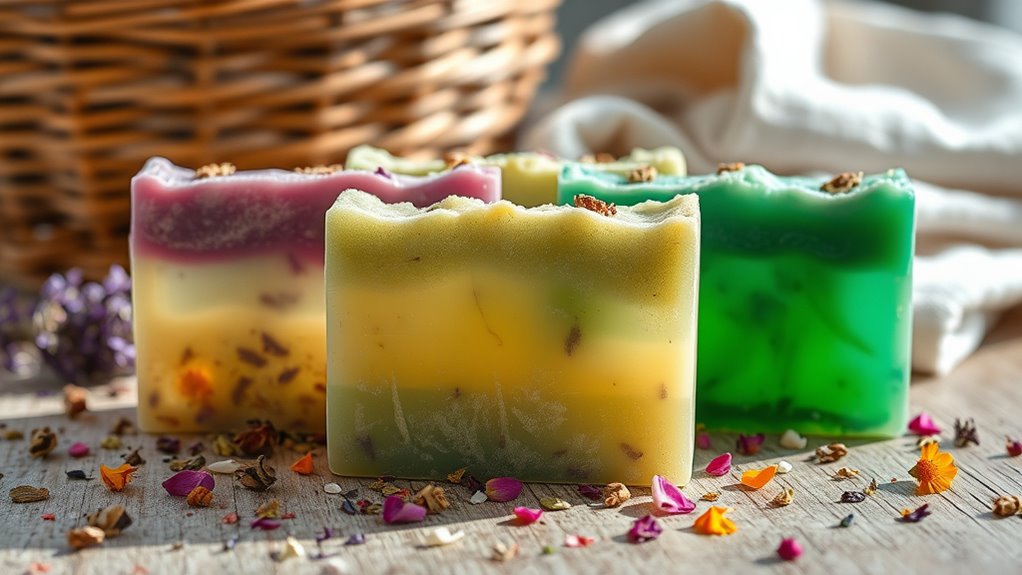
Tips for Customizing Textures and Shapes
Customizing the textures and shapes of your soap bars allows you to create unique, eye-catching products that showcase your style. Start by experimenting with mold design—using silicone molds, silicone ice cube trays, or even repurposed household items. To achieve appealing texture effects, consider layering different soap colors or adding natural exfoliants like oats or seeds for varied surfaces. You can also embed objects for 3D effects or swirl colors for artistic patterns. Here’s a quick guide:
| Design Tip | Effect |
|---|---|
| Use varied mold shapes | Creates diverse, appealing forms |
| Incorporate texture effects | Adds visual interest and tactile appeal |
| Embed natural ingredients | Enhances appearance and benefits |
Caring for and Storing Your Handmade Soap Bars
Once you’ve crafted and shaped your soap bars with unique textures and patterns, proper care and storage become essential to maintain their quality and appearance. To guarantee optimal soap preservation, store your handmade soap in a cool, dry place away from direct sunlight. Use a breathable container or soap dish that allows air circulation, preventing moisture buildup that can cause soap to soften or become mushy. Avoid stacking soap bars directly on top of each other; instead, place them with space between for proper drying. Proper soap storage not only prolongs the lifespan of your soap bars but also preserves their scent, texture, and appearance. With careful soap preservation, your handmade creations will stay fresh and beautiful for longer.
Frequently Asked Questions
Can I Use Edible Ingredients in My Soap?
You can use edible ingredients in your soap, but you should be cautious about soap preservation. Some edible items like honey or oats add natural benefits, but others might spoil or cause bacteria growth. Always research each ingredient’s shelf life and safety in soap. Proper preservation techniques are essential to keep your soap fresh and safe to use, ensuring that edible ingredients enhance rather than compromise your soap’s quality.
How Long Does Homemade Soap Last?
Think of your homemade soap like a cherished photo—its shelf life depends on how well you preserve it. Typically, homemade soap lasts 4-6 months with proper soap preservation. Factors like ingredients and storage affect longevity. I once made a batch and was amazed how, with good drying and airtight storage, it stayed fresh. Proper care guarantees your soap remains effective and delightful throughout its shelf life.
Are There Any Safety Concerns With Natural Ingredients?
When considering natural ingredients in soap, safety is key. You should be aware of potential allergic reactions, especially if you or others have sensitive skin or allergies. Always check ingredient safety and do a patch test before full use. Natural ingredients can be safe, but they’re not risk-free. Use fresh, high-quality components, and research each ingredient to ascertain it won’t cause adverse reactions.
Can I Make Soap Without Lye?
You can’t make traditional soap without lye, but you can use lye alternatives like melt-and-pour bases or pre-made soap. These options skip the handling of caustic substances, making soap curing unnecessary. However, if you want to craft soap from scratch, you’ll need lye to saponify the oils. Always follow safety guidelines and proper curing times to guarantee your soap is safe and gentle for use.
How Do I Troubleshoot Soap That Doesn’T Set Properly?
If your soap doesn’t set properly, check your soap storage conditions—make sure it’s in a cool, dry place. Sometimes ingredient substitutions can affect the setting process, so verify you used the correct proportions and fresh ingredients. You might need to let it cure longer or adjust the pH. Troubleshooting involves experimenting with these factors, and always keep notes to improve your soap-making techniques.
Conclusion
Just like an artist shapes their masterpiece, your careful choices and creativity will bring your soap to life. By blending natural ingredients with love and patience, you craft more than soap—you create a small, personal sanctuary of purity and wellness. Remember, every bar reflects your unique touch, turning everyday routines into moments of self-care. Embrace the process, and let your handmade soap be a demonstration to the beauty of nature’s simple, timeless gifts.