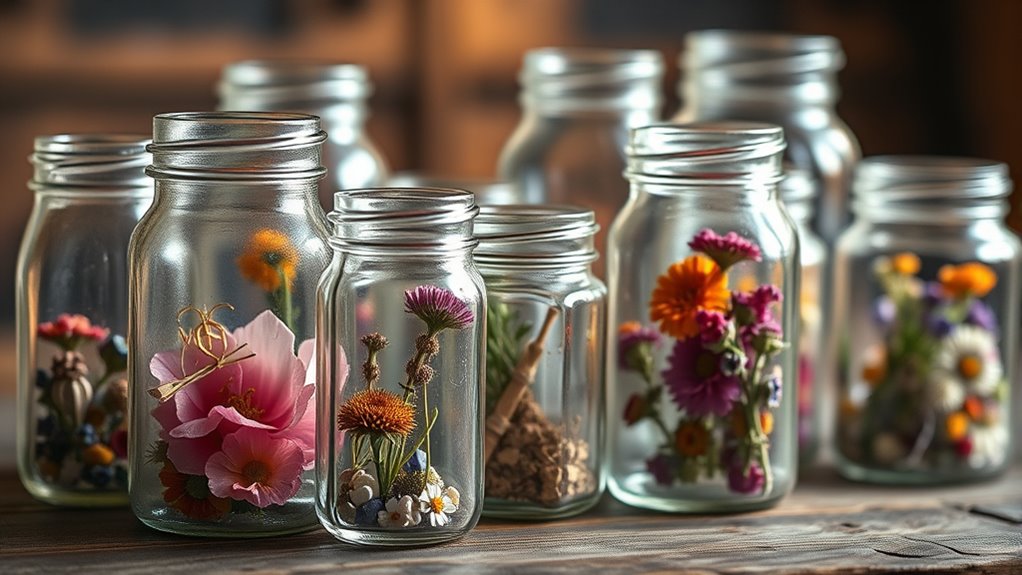

To create a DIY memory jar, gather a clear jar, decorations, and meaningful keepsakes like photos or notes that capture special moments. Choose a jar that fits your space and style, and personalize it with labels and decorations. Fill it with your treasured items, arranging them thoughtfully. Keep the jar in a well-lit, secure spot to preserve your memories. If you want tips on decorating or maintaining your jar, continue exploring simple ways to make your keepsake truly special.
Key Takeaways
- Collect meaningful keepsakes like photos, notes, and tokens to personalize your memory jar.
- Choose a suitable jar material, size, and decorative theme that matches your style and display space.
- Decorate the jar with ribbons, tags, and symbols to reflect the memories and add a personal touch.
- Carefully fill the jar with collected items, then seal and protect it from sunlight and moisture for preservation.
- Display your memory jar in a visible, stable location with proper lighting and regular maintenance for longevity.

120 LED Solar Fairy Lights Outdoor Waterproof IP65, 10FT 8 Lighting Modes
【How long does it take to charge? /How long does the battery last per charge?】 - With 20%...
As an affiliate, we earn on qualifying purchases.
Gathering Your Supplies
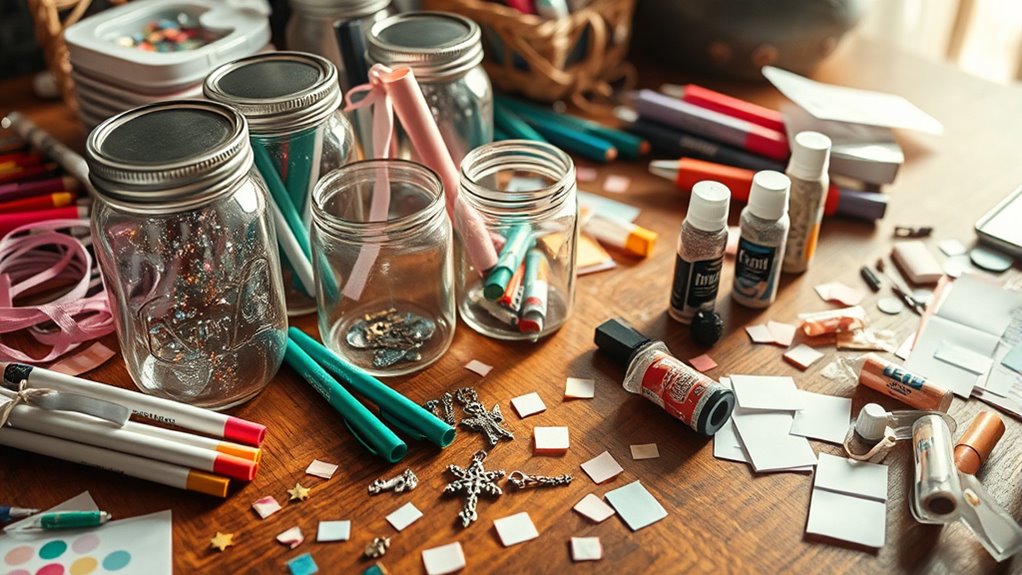
To start making your memory jars, gather all the supplies you’ll need. Think about your chosen memory themes—whether it’s travel, family, or special milestones—as they will guide your selection of decorations and labels. Decide on a color scheme that complements your theme and sets the mood; soft pastels work well for gentle memories, while bold colors can highlight lively moments. You’ll want clear jars to showcase your keepsakes, along with items like stickers, ribbon, markers, and small embellishments that fit your chosen aesthetic. Don’t forget labels or tags to identify each memory. Gathering these supplies beforehand guarantees a smooth crafting process, allowing you to focus on creating meaningful, personalized jars that beautifully capture your treasured moments. Additionally, selecting eco-friendly materials for your jar decorations or themed embellishments can enhance the sustainability and personal significance of your project. Incorporating reusable containers can also add to the eco-conscious aspect of your memory-keeping.

Dazzle Bright 2 Pack Total 400LED 132FT Multi-Colored Christmas Solar String Outdoor Lights, Solar Powered with 8 Modes Waterproof Fairy Lights for Bedroom Patio Garden Tree Party Yard Decoration
Christmas lights: The solar led light is 66 feet, the lead wire is 6.5 feet, and the bulb...
As an affiliate, we earn on qualifying purchases.
Choosing a Perfect Jar
When selecting a jar, think about the material—glass or plastic—that best suits your style and durability needs. Consider the size and shape that will hold your memories comfortably and look appealing on display. Don’t forget to choose a lid or closure style that keeps your keepsakes secure and complements the jar’s overall look.
Jar Material Options
Choosing the right jar material is essential for creating a memorable and functional memory jar. Glass options are popular because they’re transparent, allowing you to see your keepsakes clearly. They also add a classic, elegant touch and are easy to decorate with paint, labels, or ribbons. Metal varieties offer durability and a modern vibe, often featuring sleek finishes that resist breaking. Metal jars are lightweight and sturdy, making them great for long-term storage or travel. When selecting your material, consider where you’ll display or store the jar and whether you want a rustic, vintage, or contemporary look. Both glass and metal options can be customized to suit your style, ensuring your memory jar becomes a beautiful, lasting keepsake. Incorporating pressure relief solutions could help prolong the lifespan of your chosen jar, especially if it’s used frequently or stored in varying environments.
Size and Shape Choices
Selecting the right size and shape for your memory jar helps guarantee it fits your space and suits your style. With a wide size variety available, you can choose a compact jar for desks or a larger one for display shelves. When considering shape selection, think about aesthetics and practicality—for example, tall, slender jars work well for vertical spaces, while rounder shapes add charm. Additionally, choosing materials that match your decor style, such as rustic wood or vintage glass, can enhance the overall farmhouse aesthetic. Here are some key points to guide your choice: 1. Decide whether you want a small keepsake jar or a larger container for more memories. 2. Consider how the shape complements your existing decor. 3. Think about ease of filling and retrieving your keepsakes. 4. Match the jar size to the amount of space you want to dedicate to your memory collection. Also, paying attention to the digital literacy of users can help ensure that everyone finds the jar easy and enjoyable to use.
Lid and Closure Styles
The right lid or closure style can enhance both the functionality and appearance of your memory jar. Metal clasps add a vintage touch and provide a secure seal, making them ideal for preserving sentimental items. They’re easy to open and close, perfect for frequent access. Screw caps, on the other hand, offer a sleek, modern look and excellent airtight closure, which helps protect your keepsakes from dust and moisture. Consider the jar’s purpose when choosing a lid style; metal clasps suit decorative displays, while screw caps work well for jars intended to store small items long-term. Whichever you choose, confirm it complements your jar’s overall aesthetic and provides a reliable seal to keep your memories safe. Ensuring a proper seal is essential for protecting your keepsakes from environmental damage. Selecting a compatible closure ensures the lid functions properly with your jar type and maintains an effective seal, especially when considering materials and designs that influence durability and appearance.

KAQ Solar String Lights Outdoor 2Pack 500LED 180FT Waterproof Warm White
[Longer Working Time & Biger Solar Panel/Batterys]: This solar string lights outdoor waterproof has updated to 1800mAh with...
As an affiliate, we earn on qualifying purchases.
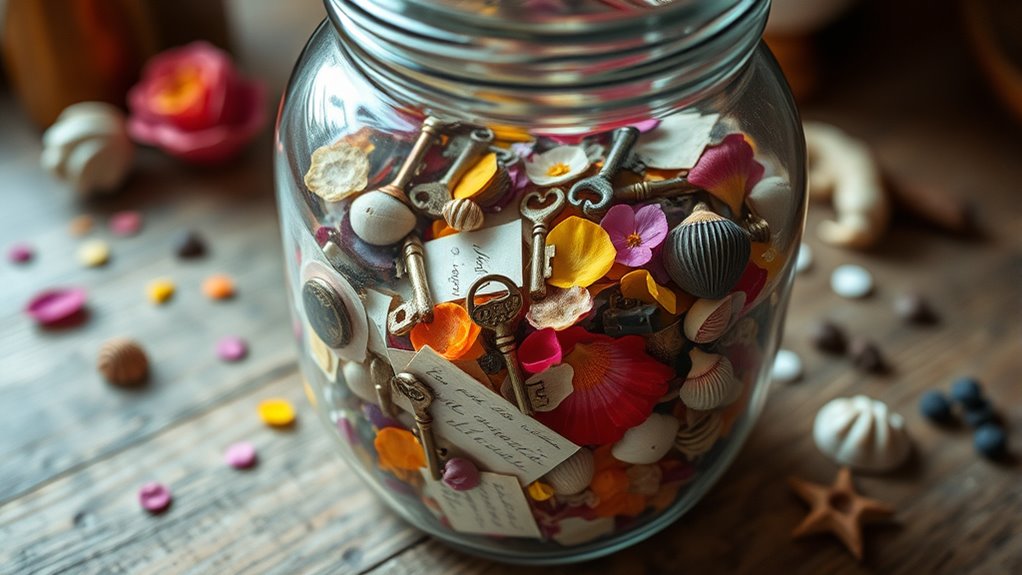
Collecting Meaningful Memories

Capturing meaningful memories is the heart of creating memorable DIY memory jars. To do this, focus on key moments and items that evoke emotion and nostalgia. Here are ways to collect those special memories:
- Use memory triggers like photos, ticket stubs, or handwritten notes to spark your recall of joyful events.
- Gather sentimental keepsakes such as a favorite ribbon, a small gift, or a memento from significant occasions.
- Record brief descriptions or dates on slips of paper to add context to each item.
- Reflect on your experiences regularly to identify new memories worth preserving, which can also foster active listening and deeper understanding of your personal journey.
- Incorporate highly recommended items like collectible anime memorabilia or favorite scents to make your jar even more special.
- Understanding the symbolic meanings behind certain objects or symbols can deepen your connection to the memories you choose to preserve.

Brightown 60 LED Flower Solar String Lights Outdoor Waterproof Fairy Lights for Garden Yard Fence Patio Christmas Tree Wedding Party Decor, Multicolor
【Cherry Blossom Design】Experience the magic of spring all year round with these solar Christmas lights, inspired by flower...
As an affiliate, we earn on qualifying purchases.
Designing Your Memory Labels
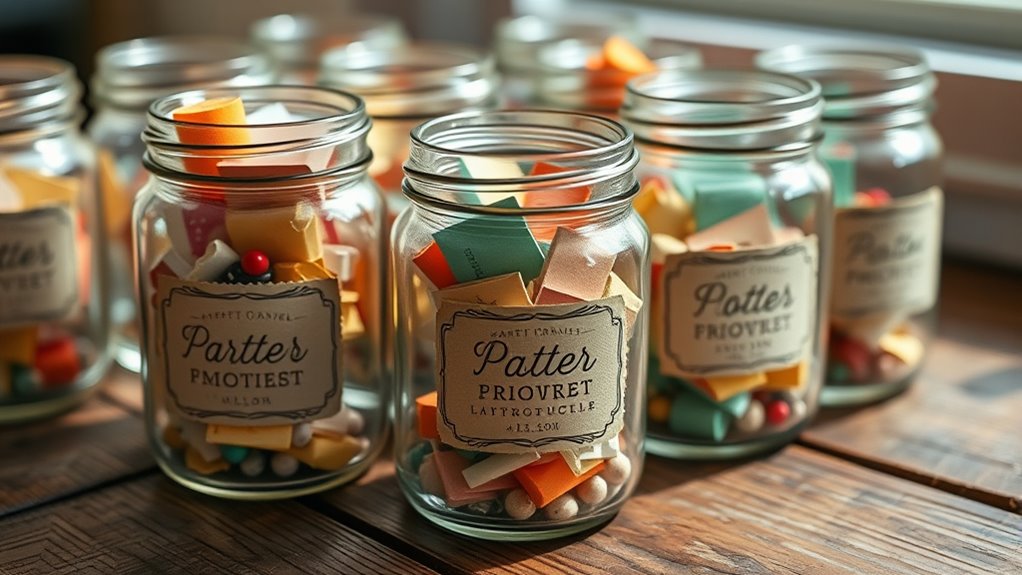
Designing your memory labels is a creative step that personalizes your memory jars and helps tell your story. Choose creative fonts that reflect your personality or the mood of each memory. Play with different styles, from playful to elegant, to make each label unique. Consider color schemes that complement your jar’s theme or evoke specific emotions—bright colors for joyful moments or softer tones for sentimental ones. Keep your labels clear and legible, but don’t be afraid to add decorative elements like doodles or borders. Use stickers, washi tape, or handwriting to add a personal touch. The goal is to create labels that not only identify your memories but also enhance the overall aesthetic of your jars. Incorporate font choices that match the mood or theme of each memory for a cohesive look. Additionally, selecting appropriate labeling techniques can ensure your labels are durable and long-lasting, especially if your jars are stored in various environments. Being aware of security vulnerabilities in your labeling materials or methods can help protect your memories from fading or damage over time. Have fun making each label a reflection of your special moments.
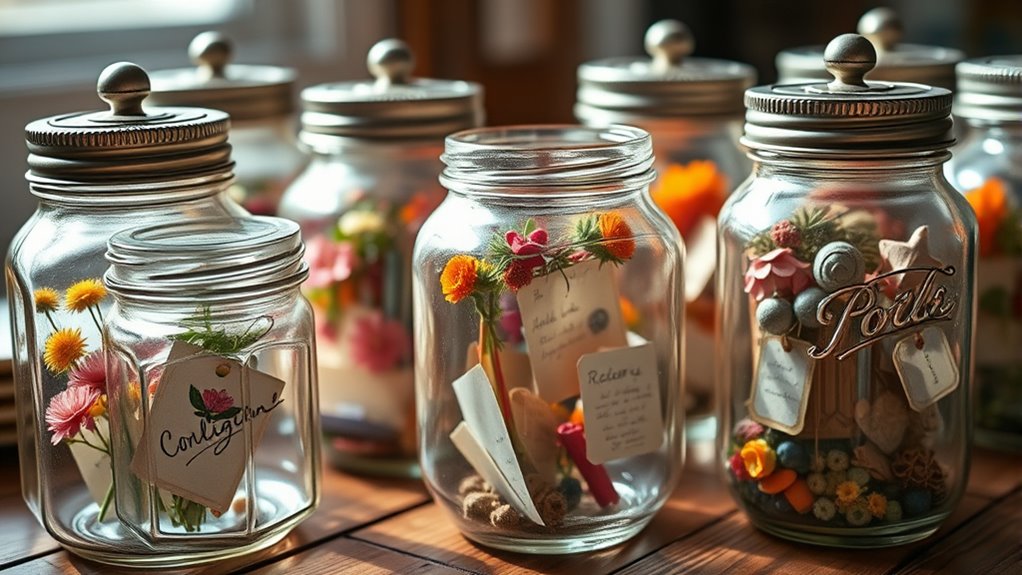
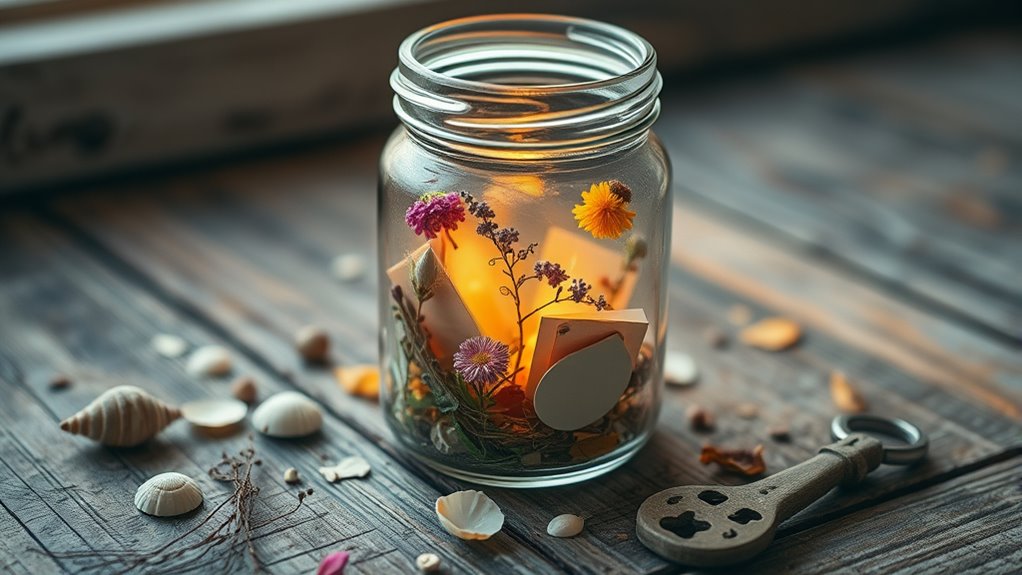
Filling the Jar With Treasured Items
Begin by gathering items that hold special meaning to you, such as small mementos, photos, or tokens from memorable experiences. These sentimental keepsakes can capture the essence of your favorite moments. To add variety, consider incorporating seasonal themes—like a tiny snowflake for winter or a seashell for summer. Incorporating personal symbols can make your jar even more special and personalized. Be aware of potential tax implications associated with retirement savings, so plan accordingly to preserve your treasured items.
Personalizing and Decorating Your Jar
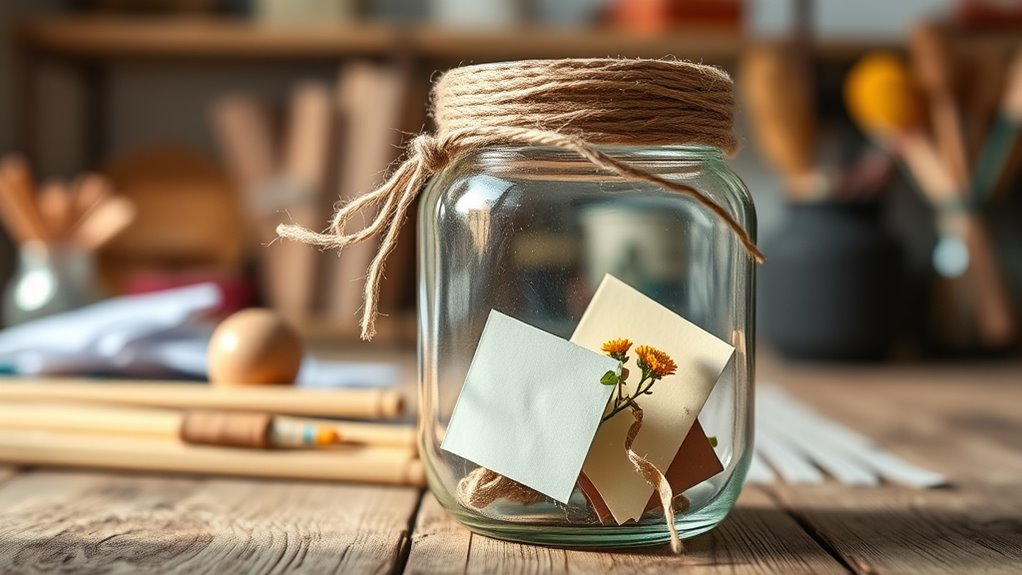
Once you’ve filled your jar with meaningful keepsakes, it’s time to make it uniquely yours through personal touches and decorations. Add a decorative accent like a ribbon, twine, or washi tape around the lid or body of the jar to enhance its charm. You can also personalize it further by attaching a small tag with a special message or the date the memory was made. Consider painting or decorating the jar with glass markers or stickers that reflect your style or the theme of your memories. Incorporating meaningful symbols or initials can further personalize the jar, making it a true reflection of your personality and the special moments it holds. Using sustainable materials in your decorations can also underscore the importance of eco-friendly practices in your craft. Aligning your decorations with environmentally conscious choices adds value and authenticity to your memory-keeping project.
Displaying and Preserving Your Memory Jar
Choose a spot where your memory jar can be seen and appreciated every day, like a shelf or a mantel. To keep your keepsakes safe, consider sealing the jar or keeping it away from direct sunlight and moisture. With the right display and proper care, your memory jar will stay beautiful for years to come. Incorporating personalized care into your routine can help ensure your cherished keepsakes are preserved with the attention they deserve. Additionally, being aware of storage conditions can prevent damage and maintain the jar’s appearance over time. Understanding building materials can also guide you in selecting the best containers and protective measures for your keepsakes.
Choosing the Right Display Spot
Selecting the perfect spot to display your memory jar guarantees it remains a cherished part of your space while staying protected. Consider locations that suit your decor and make certain of visibility. You can also adjust the lighting to highlight your jar and prevent potential damage from harsh light. 1. Place it on a shelf or mantel where it can be part of your garden decor, adding charm and personality. 2. Use secure storage solutions like glass cabinets or wall-mounted displays to prevent accidents. 3. Keep it away from direct sunlight to avoid fading or damage. 4. Choose a spot with stable temperature and humidity, especially if your jar contains delicate items.
Tips for Long-lasting Preservation
To keep your memory jar looking beautiful and intact over time, it’s important to focus on proper display and preservation techniques. Using aging techniques, like sealing your jar with a clear, protective coating, helps prevent damage from dust and moisture. Humidity control is essential; keep your jar in a cool, dry place to avoid warping or mold growth. Avoid direct sunlight, which can fade colors and accelerate aging. Consider placing your jar in a display case or a shelf with stable conditions to minimize fluctuations in temperature and humidity. Regularly check for signs of deterioration, and handle it with clean hands to preserve the integrity of the memories inside. Proper care guarantees your memory jar remains a cherished keepsake for years to come.
Frequently Asked Questions
What Are Some Creative Themes for Memory Jars?
When choosing themes for your memory jar, think about themed occasions or seasonal motifs that resonate with you. For example, you could create a summer beach theme with tiny seashells and sand, or a cozy autumn vibe with mini pumpkins and fallen leaves. Personal milestones like birthdays, holidays, or travel adventures also make meaningful themes. These ideas help you capture special moments creatively, making your memory jar uniquely yours.
How Often Should I Update or Add to My Memory Jar?
Think about the frequency updates for your memory jar as a way to keep it meaningful and fresh. You might choose to add to it weekly, monthly, or whenever a special moment occurs. Regularly updating your jar guarantees it stays a vibrant reflection of your experiences. Whether you add small notes or big memories, the key is to make each addition meaningful and intentional, creating a treasured collection over time.
Can I Include Digital Memories in My Jar?
You can definitely include digital memories in your jar through digital integration. While traditional jars hold physical items, you can add multimedia memories like printed screenshots, QR codes linking to videos, or small USB drives with photos. This way, your jar becomes a multimedia collection, blending physical keepsakes with digital memories. Just guarantee everything stays protected and accessible, so your digital integration enhances your memory jar experience rather than complicates it.
What Are Some Eco-Friendly Materials for Making Memory Jars?
You can make your memory jars eco-friendly by choosing materials like recycled glass for the jar itself, reducing waste and reusing resources. For fillers, opt for biodegradable options like dried flowers, natural fibers, or paper stars that break down over time. These choices help you create beautiful, sustainable memory jars that capture your moments while respecting the environment. Plus, they add a charming, natural touch to your keepsakes.
How Do I Safely Store My Memory Jar Long-Term?
Many believe that proper preservation techniques extend a memory jar’s life, but research shows that environmental factors also play a crucial role. To store your jar long-term, choose a stable, airtight storage container kept in a cool, dark place. Avoid direct sunlight and humidity, which can degrade contents. Regularly check your jar for signs of damage, ensuring it remains a cherished keepsake for years to come.
Conclusion
Now that you’ve filled your jar with special memories, it becomes a treasure chest of your life’s moments, like a time capsule waiting to be opened. Display it proudly or keep it safe on a shelf, knowing each item tells a story only you can share. Your DIY memory jar isn’t just a decoration; it’s a heartfelt reminder of the beautiful times you’ve collected. Enjoy the nostalgia and let it inspire you to create more memories worth preserving.